Best Red Velvet Crinkle Cookies (Chewy & Festive)
Introduction
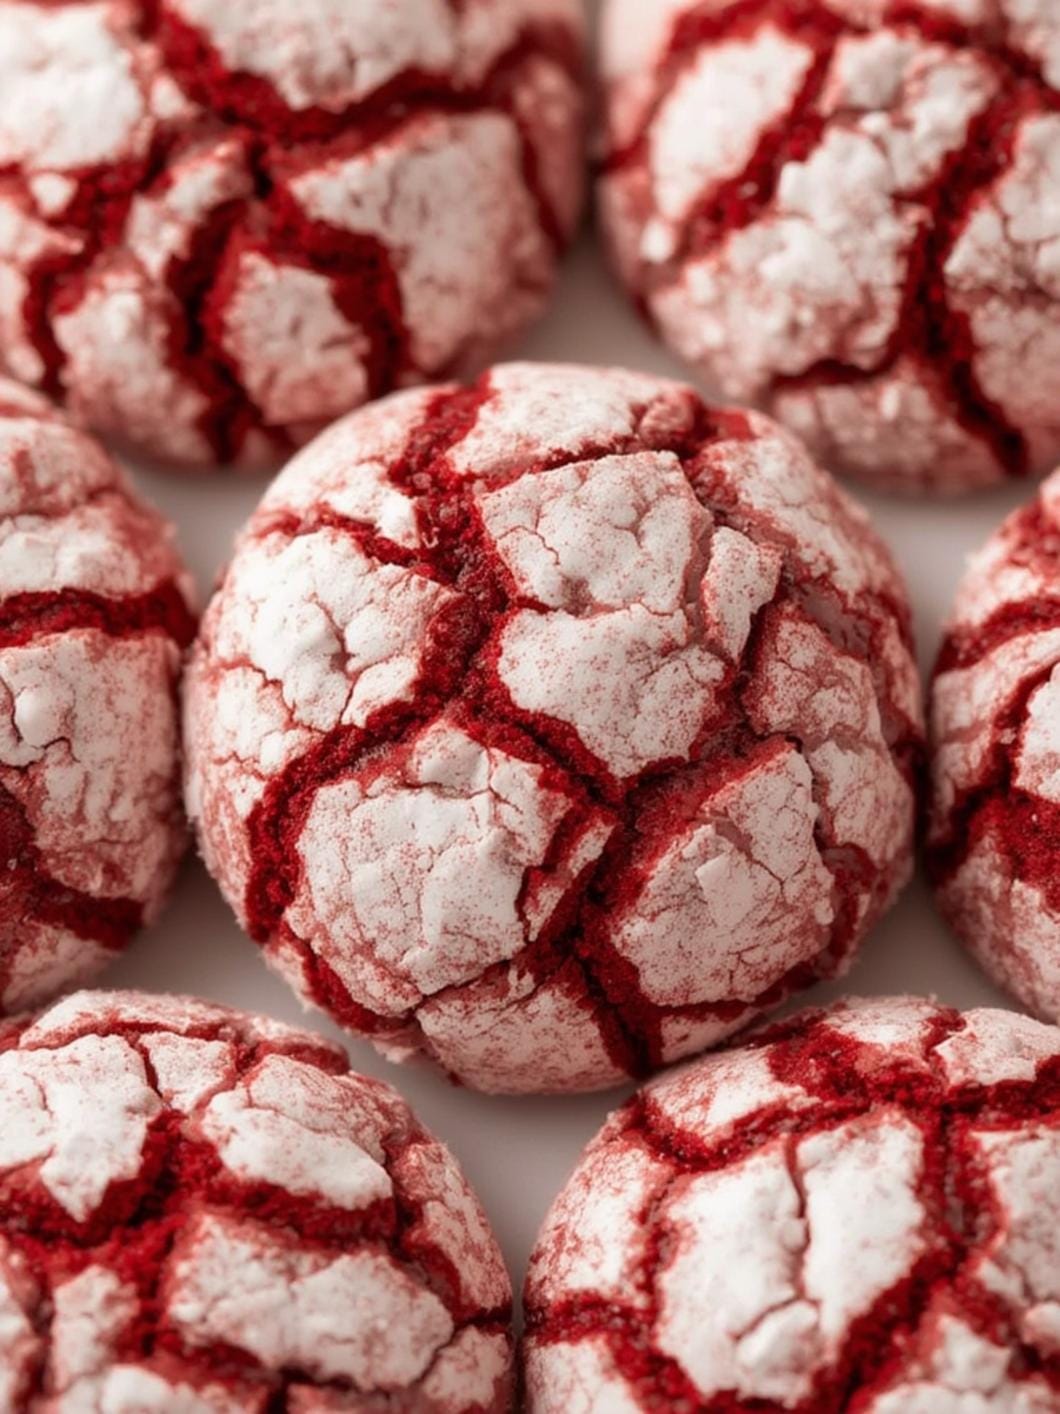
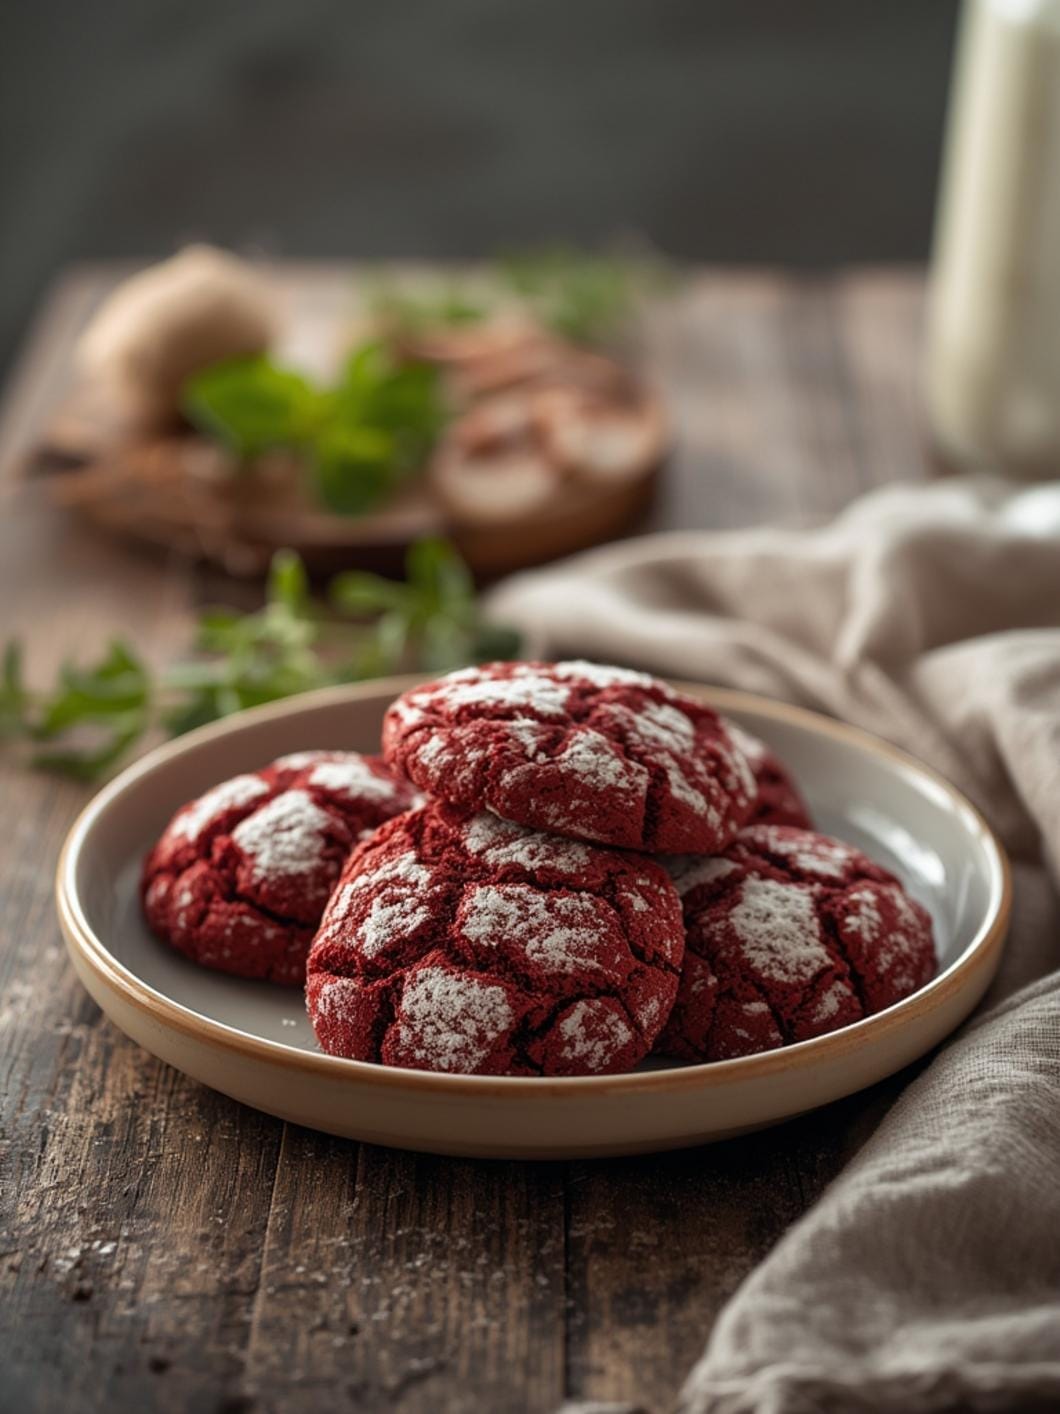
Picture pulling a batch of Red Velvet Crinkle Cookies from the oven—the kitchen fills with that rich, cocoa-laced warmth, mingled with the faint tang of cream cheese, while the cookies crackle open to reveal their vibrant red hearts dusted in snowy powdered sugar. These treats take me back to holiday cookie swaps, where one bite sparked smiles across the table. Homemade Red Velvet Crinkle Cookies beat store-bought every time: no artificial aftertaste, just that perfect chew from real butter and the dramatic crinkle from a generous sugar roll. They’re festive, foolproof, and way more satisfying than anything from a package.
Table of Contents
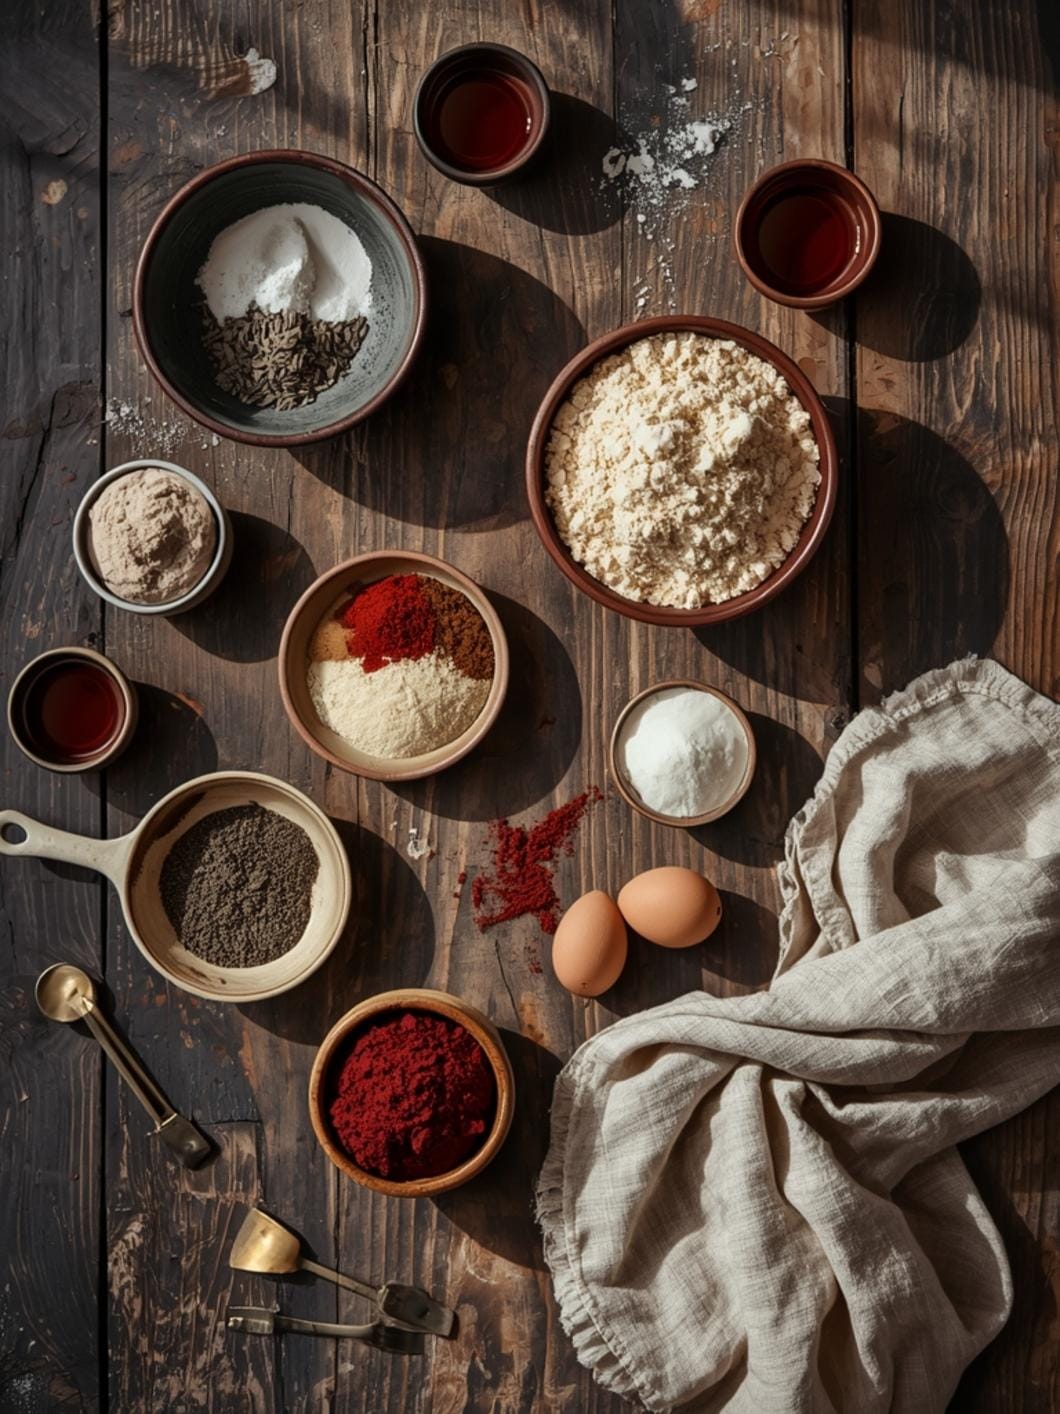
Ingredients & The ‘Why’
| Ingredient | Quantity & Notes |
|---|---|
| Unsalted butter, softened | ½ cup (1 stick) – Room temperature for easy creaming |
| Cream cheese, softened | 8 oz (1 block) – Full-fat for tenderness |
| Granulated sugar | 1 cup – For sweetness and structure |
| Light brown sugar, packed | ¼ cup – Adds chewiness and molasses depth |
| Large egg | 1 – Binds everything together |
| Red gel food coloring | 2 tbsp – For that bold, bakery-style hue (use gel for intensity) |
| Vanilla extract | 2 tsp – Balances the cocoa |
| All-purpose flour | 2¼ cups – Spooned and leveled |
| Unsweetened cocoa powder | ¼ cup – Dutch-processed for smoother flavor |
| Baking powder | 1 tsp – For gentle lift |
| Baking soda | ¼ tsp – Reacts with cream cheese for spread control |
| Salt | ½ tsp – Enhances chocolate notes |
| Powdered sugar | 1½ cups – For rolling; creates the signature crinkle |
In these Red Velvet Crinkle Cookies, cream cheese keeps the centers soft and fudgy even after cooling, while the cocoa powder delivers subtle chocolate without overpowering the vanilla. Powdered sugar isn’t just for looks—it draws moisture to the surface as the cookies bake, forming those irresistible cracks that make Red Velvet Crinkle Cookies so photogenic and fun to eat.
Preparation Overview
| Metric | Time/Amount |
|---|---|
| Cook Time | 10-12 minutes per batch |
| Total Time | 2 hours 40 minutes |
| Yields | 24 cookies (2-inch diameter) |
Step-by-Step Instructions
These Red Velvet Crinkle Cookies come together like a dream in your stand mixer or by hand. We’ll cream the fats first for airy texture, then fold in the dry goods to avoid toughness. Expect the dough to be sticky—that’s normal for the soft bake.
1. Preheat your oven to 350°F (175°C) and line two baking sheets with parchment paper. The oven’s gentle heat will coax out the crinkles without overbrowning the bottoms.
2. Beat the softened butter, cream cheese, granulated sugar, and brown sugar in a large bowl with an electric mixer on medium speed for 2-3 minutes. Listen for the beaters to lighten as the mixture turns pale, fluffy, and creamy—like fresh whipped frosting. It should smell sweetly buttery with a hint of tang.
> Chef Grace’s Tip: Scrape down the bowl often. If your butter or cream cheese is cold, microwave in 5-second bursts to soften without melting—lumps lead to uneven cookies.
3. Mix in the egg, vanilla extract, and red food coloring on low speed until smooth, about 1 minute. The batter will deepen to a vivid ruby red, swirling like velvet paint. Feel the silkiness; no streaks means even color in every Red Velvet Crinkle Cookie.
4. Whisk together the flour, cocoa powder, baking powder, baking soda, and salt in a separate bowl. This dry mix ensures even distribution—no bitter cocoa pockets.
5. Fold the dry ingredients into the wet mixture on low speed just until combined, about 1 minute. Stop when you see no flour streaks; the dough will be thick and sticky, pulling away from the bowl sides with a soft sheen. Overmixing toughens the gluten, so gentle hands here.
> Chef Grace’s Tip: Dough too sticky? Chill it 10 minutes before scooping. Use a cookie scoop for uniform 1½-tablespoon balls—perfect for matching Red Velvet Crinkle Cookies.
6. Roll each dough ball generously in powdered sugar, using about 1½ cups total. Press sugar on firmly so it sticks; the balls should look like snowy snowballs, matte white hiding the red underneath.
7. Place balls 2 inches apart on the prepared sheets. They won’t spread much thanks to the chill we’ll do next.
8. Chill the shaped dough on the sheets for 2 hours in the fridge. This firms the fats, preventing excess spread, and sets the sugar coat for max crinkle.
9. Bake for 10-12 minutes, rotating sheets halfway. Edges firm to a light golden touch, centers puff slightly then settle with cracks revealing red. You’ll hear soft sighs as they cool—the kitchen smells of warm cocoa and vanilla mist.
10. Cool on the sheets for 5 minutes, then transfer to a wire rack. They firm up to chewy perfection, with crisp edges and that powdery crunch.
Why This Recipe Works
Red Velvet Crinkle Cookies succeed because of balanced moisture and fat: cream cheese adds acidity that tenderizes via a mild reaction with baking soda, creating lift without cakiness, while butter provides flavor and powdered sugar hygroscopically pulls to the surface during baking for those spiderweb cracks. The cocoa stays mellow, letting vanilla and subtle tang shine—never too sweet or dry. For more on the chew factor, check this Soft Red Velvet Crinkle Cookies Recipe. Chilling is key; it controls spread so your Red Velvet Crinkle Cookies hold shape, and the two sugars (granulated for crisp, brown for chew) nail the texture contrast. Flavor-wise, red coloring amps visual appeal without taste interference, balancing chocolate’s earthiness with creamy sweetness for holiday magic in every bite.
Variations & Substitutions
Make these Red Velvet Crinkle Cookies work for any table. For gluten-free, swap all-purpose flour with a 1:1 gluten-free blend like King Arthur’s—add ½ tsp xanthan gum if not included; cookies stay soft. Dairy-free? Use vegan cream cheese and butter (like Miyoko’s), keeping the tang with a splash of apple cider vinegar. Budget-friendly: Skip cream cheese for an extra egg yolk and 2 tbsp milk, or halve food coloring with beet powder for natural pink. Add white chocolate chips for bursts, or swap cocoa for black cocoa for Oreo vibes.
Common Mistakes to Avoid
Don’t skip chilling—warm dough spreads flat, losing crinkles; fix by freezing scooped balls 30 minutes. Overbaking dries them out; pull at 10 minutes if edges are set but centers soft. Too little sugar roll means pale cookies; double-dip for bold contrast. If cracks don’t form, your oven might run hot—lower 25°F next batch.
Storage & Reheating
Store Red Velvet Crinkle Cookies in an airtight container at room temp for 3 days; layer with parchment to prevent sticking. Fridge up to a week, but they’ll soften—let warm 30 minutes before eating. Freeze dough balls or baked cookies up to 3 months; thaw overnight in fridge, then bake or reheat. Best reheat: 300°F oven for 5 minutes restores chew without sogginess—microwave toughens them.
Conclusion
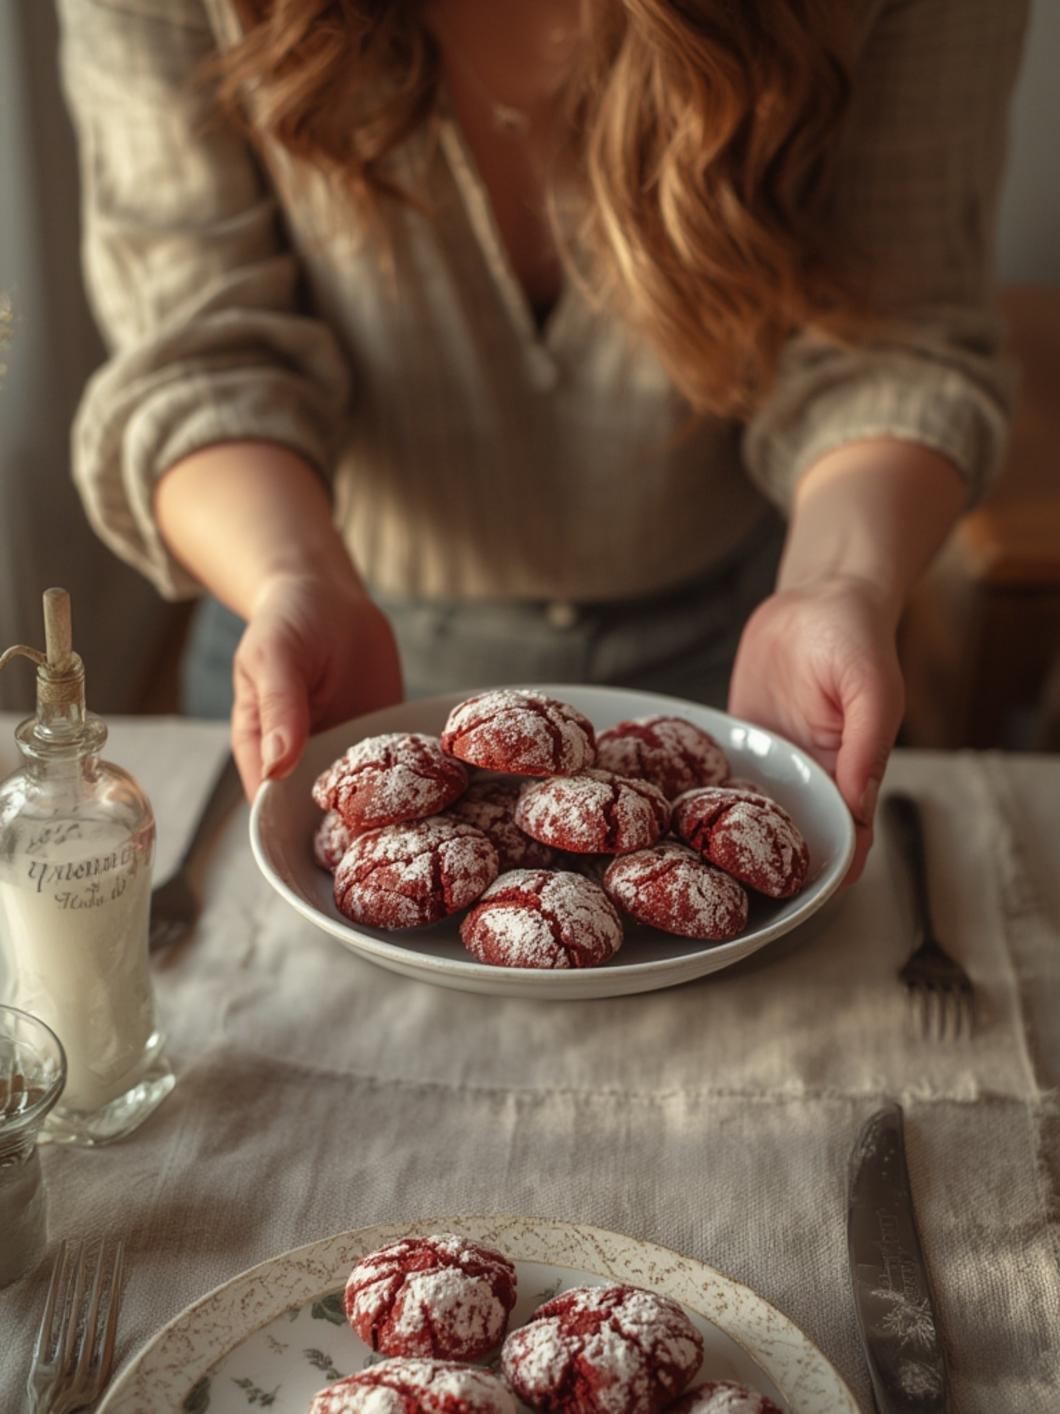
There you have it—Red Velvet Crinkle Cookies that’ll steal the show at any gathering, with that perfect snap and melt. Bake a batch this weekend and tag @FlashKitchen on social; I can’t wait to see your crinkly beauties. Dive into more like our Red Velvet Crinkle Cookies favorites.
Frequently Asked Questions (FAQ)
Can I bake Red Velvet Crinkle Cookies without chilling?
No—chilling prevents spreading and ensures crinkles. Even 1 hour helps if rushed.
Why are my Red Velvet Crinkle Cookies not red enough?
Use gel coloring, not liquid, and add it gradually. Stir well for even hue.
How do I get bigger cracks on Red Velvet Crinkle Cookies?
Roll thicker in powdered sugar and chill longer; bake on convection if possible.
Are Red Velvet Crinkle Cookies freezer-friendly?
Yes, dough freezes best—scoop, roll, freeze flat, then bag for up to 3 months.