The Ultimate 3-Ingredient Tiramisu (Foolproof)
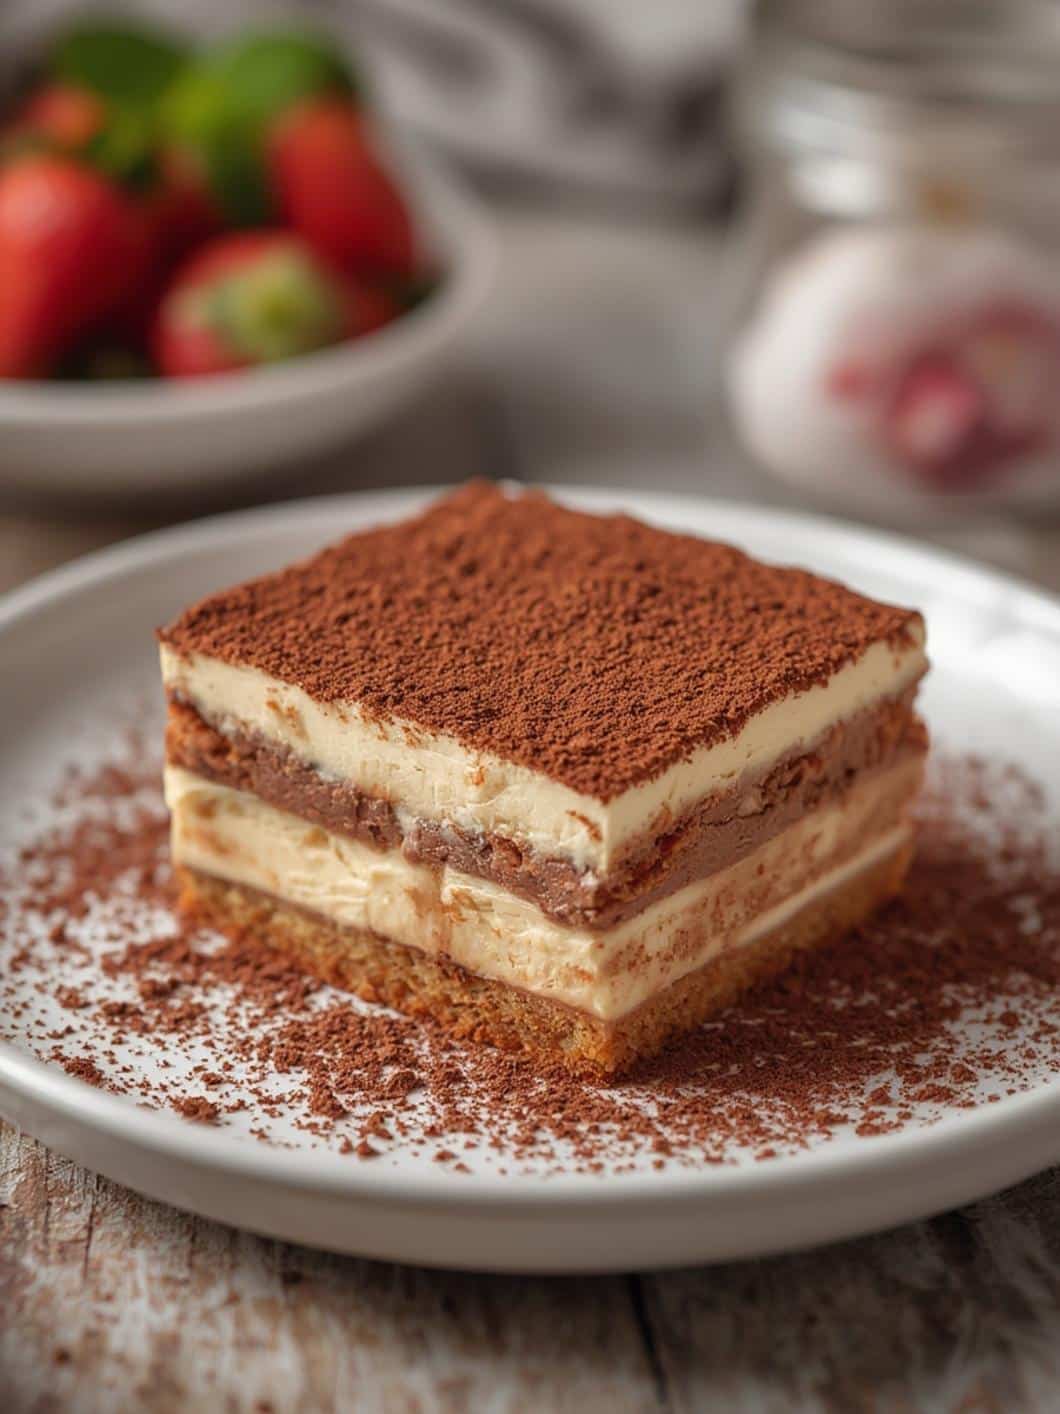
Table of Contents
Picture the rich, velvety pull of cold mascarpone on your spoon, cutting through layers of coffee-soaked ladyfingers that yield just enough crunch before melting into bittersweet espresso notes. That’s the quiet magic of tiramisu fresh from your own kitchen—the kind that lingers like a late-night coffee with old friends. Store-bought versions often sit heavy or overly sweet, missing that delicate balance you control at home, where each layer builds on the last. If you’re craving authentic Tiramisu, this no-bake classic delivers every time.
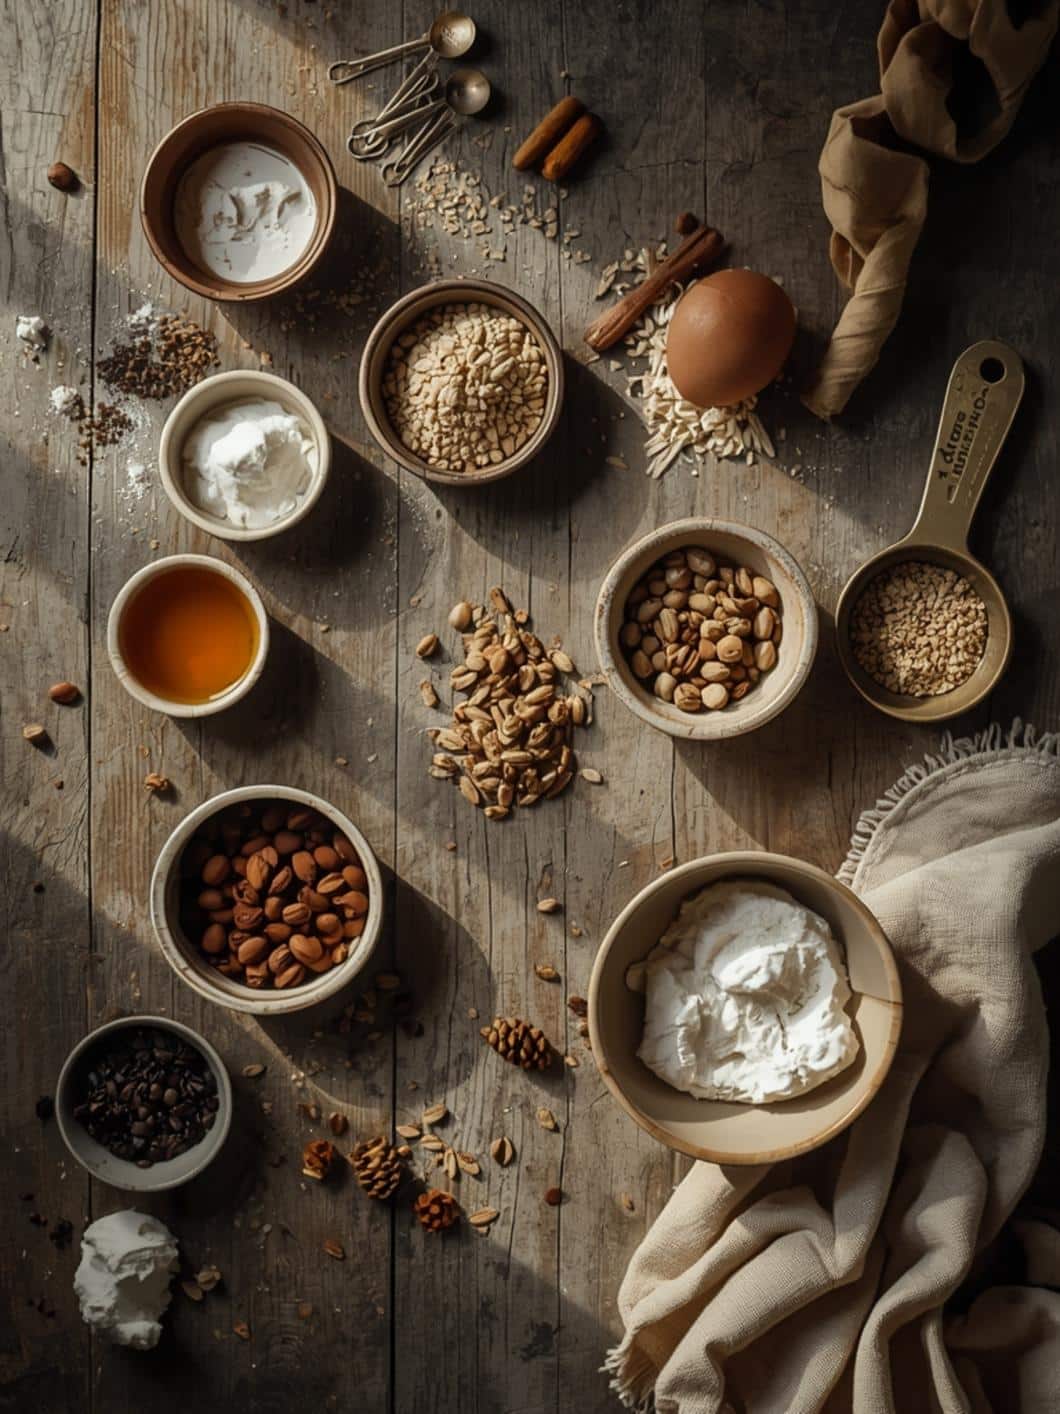
Ingredients & The ‘Why’
| Ingredient | Quantity & Notes |
|---|---|
| Egg yolks | 6 large, room temperature |
| Granulated sugar | 3/4 cup (150g), divided into 1/2 cup and 1/4 cup |
| Mascarpone cheese | 1 1/2 cups (340g), softened |
| Egg whites | 6 large, room temperature |
| Ladyfingers (savoiardi) | 400g (about 40-50 pieces), crisp and dry |
| Strong brewed espresso | 2 cups (475ml), cooled to room temperature |
| Dark rum | 1/4 cup (60ml), optional for depth |
| Unsweetened cocoa powder | 1/4 cup (25g), for dusting |
| Dark chocolate shavings | 2 oz (55g), optional garnish |
Mascarpone brings that signature silky fat content, binding everything without curdling under the coffee’s acidity. Egg yolks provide structure through gentle heating and whipping, creating a stable custard base that holds up during chilling. Ladyfingers absorb the espresso perfectly thanks to their airy, porous texture—too soft a cookie would turn mushy, but these strike the balance for tiramisu’s iconic bite.

Preparation Overview
| Metric | Time/Amount |
|---|---|
| Prep Time | 30 minutes |
| Cook Time | 0 minutes |
| Chill Time | 6 hours or overnight |
| Total Time | 6 hours 30 minutes |
| Yields | 12 servings |
Step-by-Step Instructions
1. Separate the eggs carefully, placing yolks in a large heatproof bowl and whites in a clean, grease-free bowl. Room-temperature eggs whip better—the whites should feel cool but pliable to the touch.
2. Whisk the yolks with 1/2 cup sugar over a double boiler (or bain-marie). Use a balloon whisk and stir constantly as the mixture thickens, turning pale yellow and steaming gently after 8-10 minutes. It should coat the back of a spoon thickly, smelling sweetly custardy without any eggy sharpness. Remove from heat immediately to avoid scrambling.
> Chef Grace’s Tip: If lumps form, strain through a fine mesh sieve. Patience here prevents grainy tiramisu.
3. Beat in mascarpone while the yolk mixture is still warm. Use a hand mixer on medium speed for 2 minutes until ultra-smooth and glossy, like soft frosting. The cheese melts seamlessly, releasing a faint milky aroma that promises creaminess.
4. Whip the egg whites to soft peaks with the remaining 1/4 cup sugar. Start low speed to build foam, then high until stiff, glossy peaks form—about 4-5 minutes. The mixture should hold its shape but still feel light and airy, with a subtle sweet scent rising.
> Chef Grace’s Tip: A pinch of cream of tartar stabilizes the whites if humidity is high. Wipe your bowl with vinegar first to kill any fat traces.
5. Fold whites into yolk base in three additions. Use a rubber spatula, cutting down the center and sweeping up the sides gently. The batter lightens to a fluffy, pale cloud—stop when no streaks remain, preserving air pockets for tiramisu’s lift.
6. Mix coffee and rum in a shallow dish. The espresso should smell deep and roasted, with rum adding a warm boozy whisper if using.
7. Dip ladyfingers quickly—just 1-2 seconds per side. They darken instantly, soaking up liquid with a soft hiss, but stay firm. Line the bottom of a 9×13-inch dish, trimming ends for snug fit. The dipped cookies release a heady coffee steam.
8. Spread half the mascarpone mixture evenly over the first layer using an offset spatula. It should mound slightly in the center before smoothing, feeling cool and yielding.
9. Repeat layers with remaining ladyfingers and mascarpone. Press down lightly so edges meet—the dish fills with three layers total, edges neat.
10. Cover and chill uncovered first for 30 minutes to set the top, then wrap tightly. After 6 hours, the tiramisu firms up, layers melding with a faint coffee-mascarpone perfume.
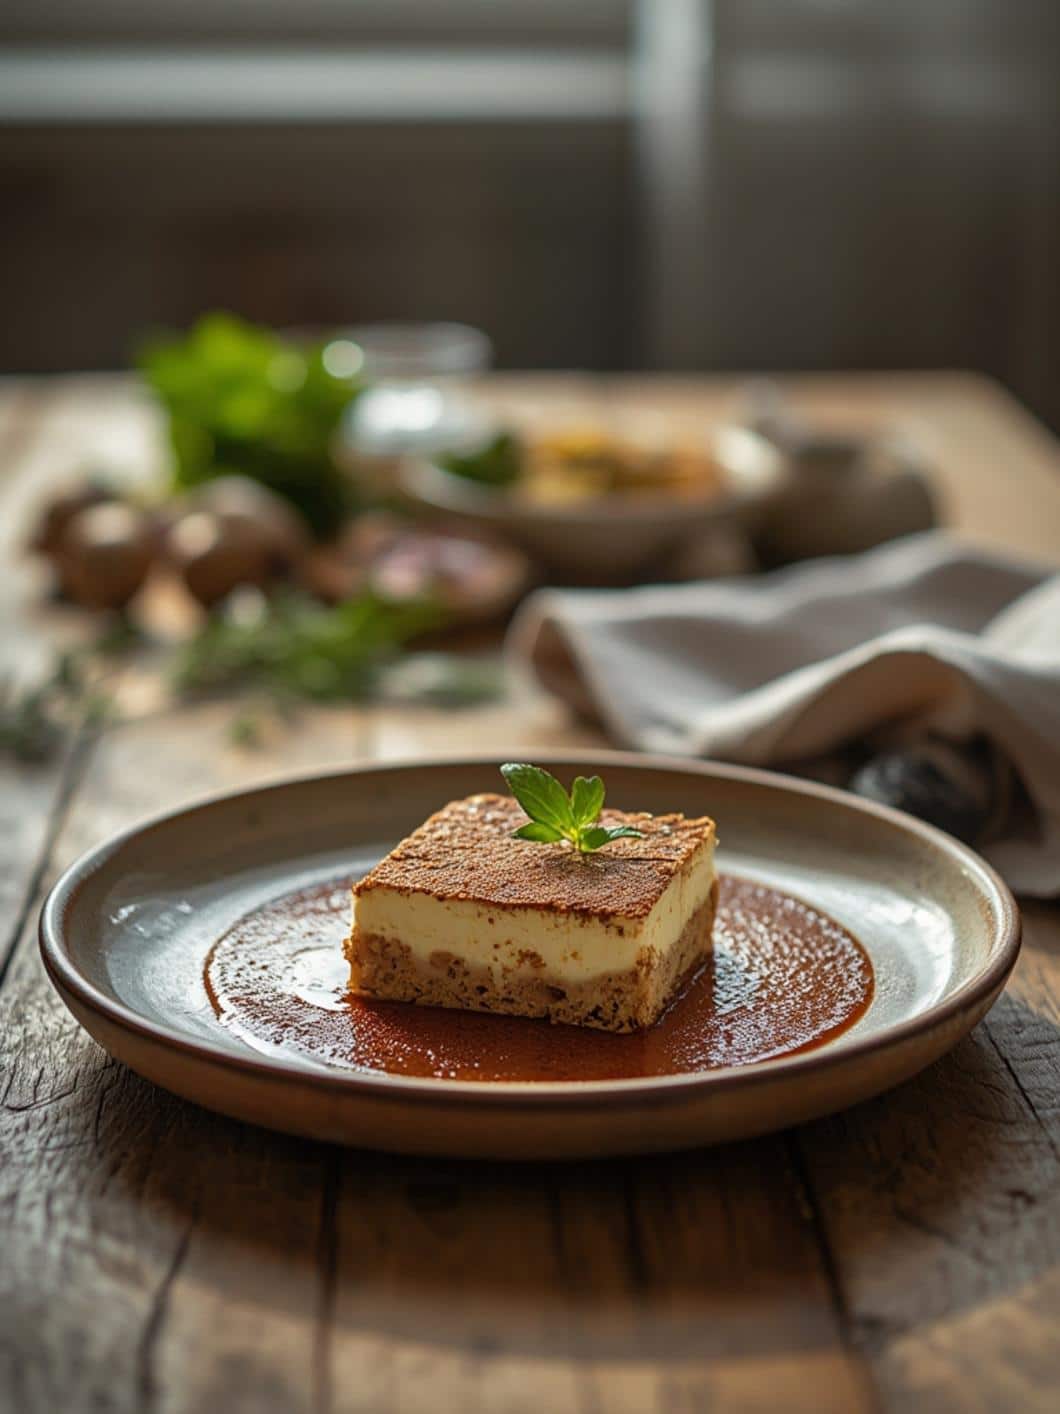
11. Dust with cocoa right before serving. Sift generously for an even, bitter cap that contrasts the sweetness below. Shave chocolate over for extra snap.
Why This Recipe Works
This tiramisu succeeds through precise emulsion and air incorporation. The yolks, heated gently to 160°F (71°C), thicken via denaturation without cooking solid—sugar stabilizes them, preventing separation when mascarpone’s fats join in. Whipped whites add volume through protein coagulation, trapping air bubbles that expand slightly during chilling for a stable, mousse-like texture that doesn’t weep. Ladyfingers’ low moisture content absorbs espresso evenly, balancing the coffee’s bold bitterness against mascarpone’s mild tang and sugar’s round sweetness—rum cuts through for complexity without overpowering. It’s a no-bake marvel where chill time (below 40°F/4°C) firms collagen in the cheese for clean slices. For another reliable take, check this Easy homemade tiramisu recipe. Flavors harmonize: sharp cocoa dusts lift the creamy core, evoking Italian cafes.
Variations & Substitutions
For gluten-free tiramisu, swap in gluten-free ladyfingers—they mimic the original’s lightness if toasted briefly for crispness. Dairy-free? Use coconut cream whisked with cashew-based mascarpone alternative; chill extra to firm the looser fat structure. Budget-friendly: Replace mascarpone with cream cheese blended 1:1 with heavy cream, adding a teaspoon of lemon juice for tang—still luxurious at half the cost.
Common Mistakes to Avoid
Over-dipping ladyfingers makes tiramisu soggy; fix by blotting excess coffee with paper towels post-dip and using cold espresso. Under-whipped whites lead to runny filling—test by rubbing meringue between fingers for dissolved sugar grit, then re-whip. Serving too early (under 4 hours chill) collapses layers; if rushed, pop in freezer 1 hour, but thaw slowly in fridge.
Storage & Reheating
Store tiramisu covered in the fridge up to 3 days—the cold preserves the set while flavors deepen. For freezing, wrap tightly in plastic and foil up to 2 months; thaw overnight in fridge to avoid ice crystals ruining texture. No reheating needed—serve straight from fridge. Microwave softens it unevenly; if portions warm up, let sit 10 minutes at room temp for best bite.
Conclusion
There you have it—layers of tiramisu that taste like they’ve been passed down generations. Whip this up next time company calls, and tag @FlashKitchen on social to share your slices. Your Tiramisu awaits.
Frequently Asked Questions (FAQ)
Can I skip the raw eggs in tiramisu?
Yes—pasteurize yolks by heating to 160°F over the double boiler, or use pasteurized eggs for safety without changing texture.
Is tiramisu better without alcohol?
Absolutely; omit rum and add 1 tsp vanilla extract to the coffee—the espresso shines solo.
How far ahead can I make tiramisu?
Up to 2 days in advance; it improves as flavors meld, but dust cocoa fresh.
Why is my tiramisu watery?
Likely from warm ingredients or overmixed filling—ensure everything’s cold and fold gently to retain air.