Perfect 5-Minute Thumbprint Cookies (Foolproof)
Introduction
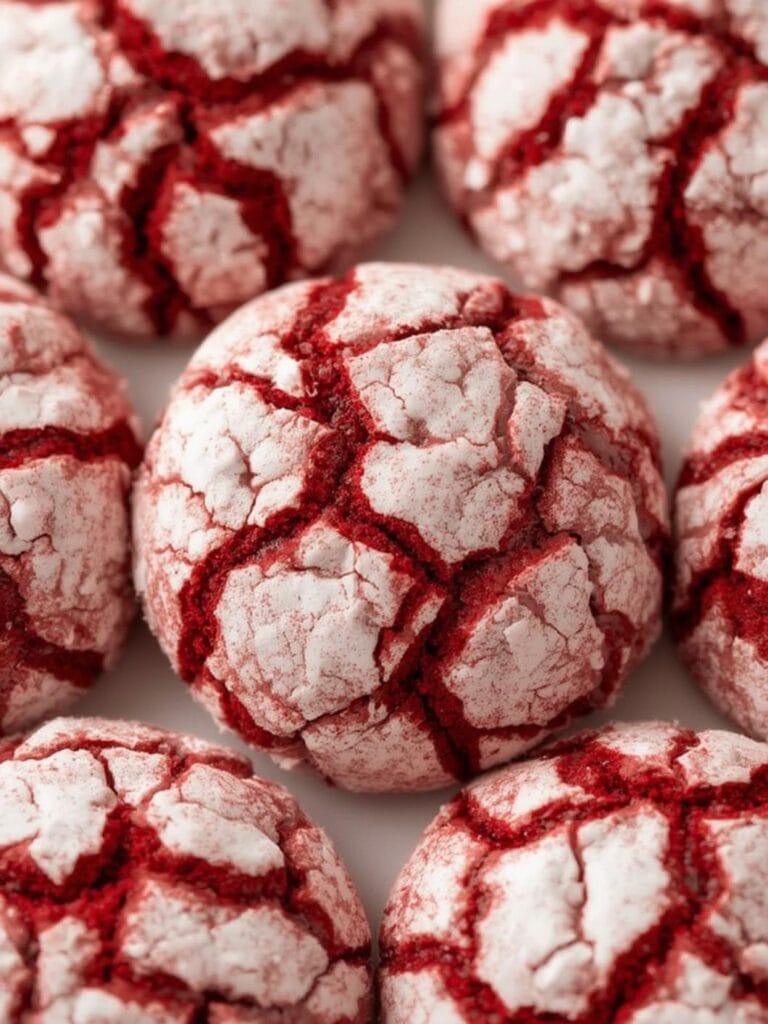
Picture the kitchen filled with that rich, warm scent of butter melting into sugar, the kind that pulls you back to holiday baking with your grandma. Thumbprint cookies deliver that exact comfort—crisp edges giving way to a soft, tender center cradling sweet jam. Store-bought versions often taste flat and dry, loaded with preservatives that dull the flavor, but these homemade Thumbprint Cookies shine with real butter’s depth and fresh jam’s brightness. They’re simple to make, endlessly customizable, and perfect for cookie swaps or afternoon tea.
Table of Contents
Ingredients & The ‘Why’

| Ingredient | Quantity & Notes |
|---|---|
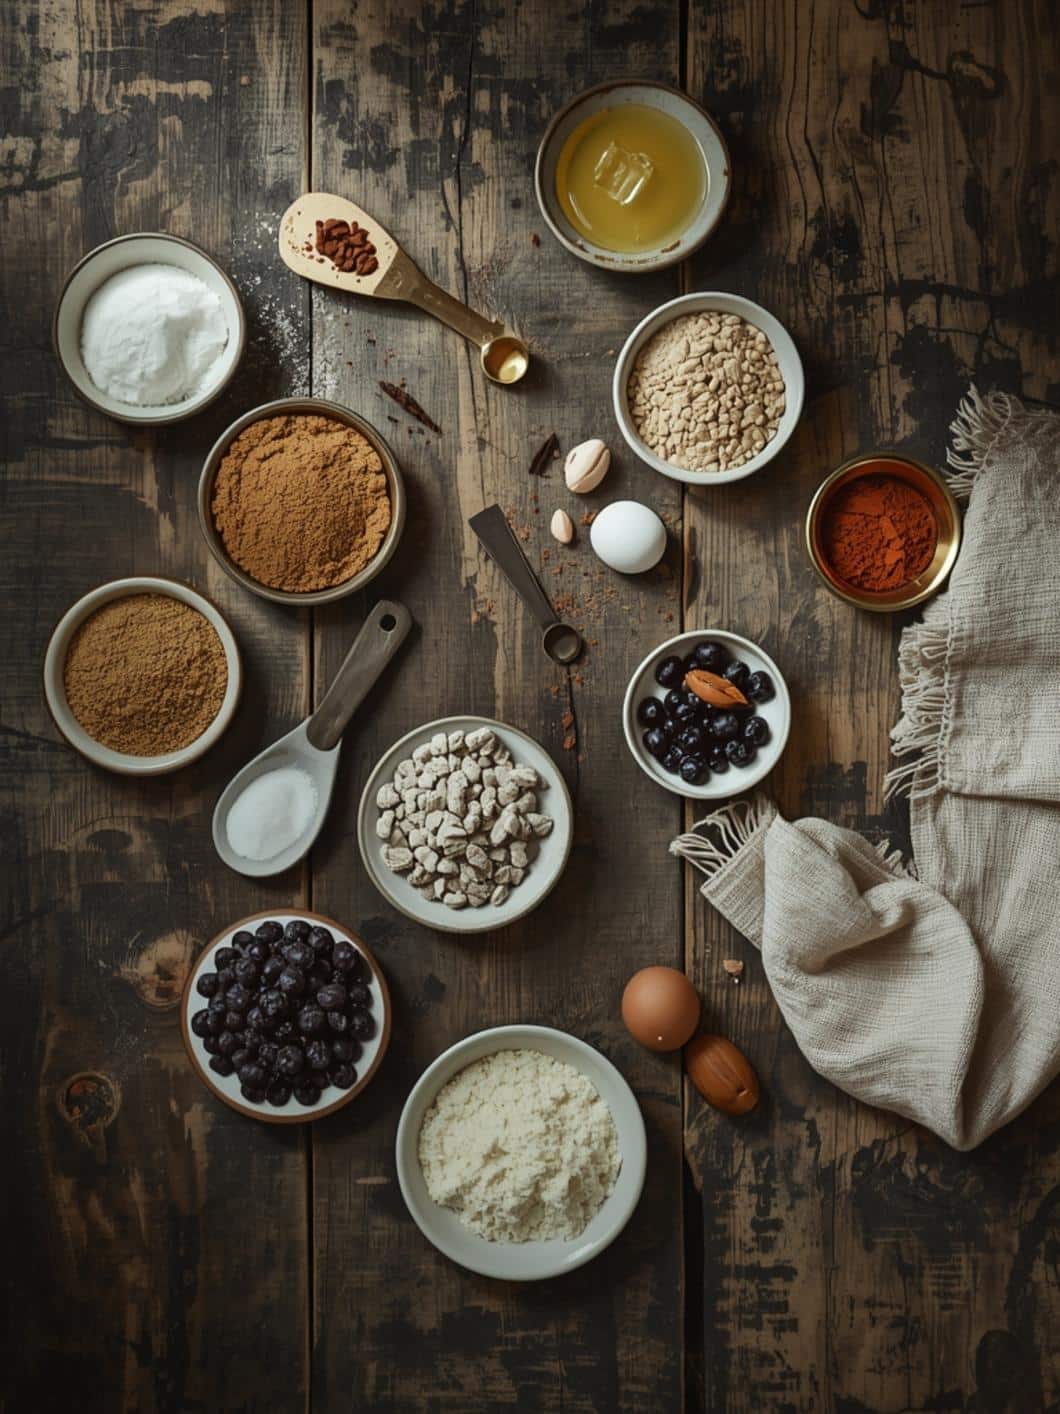
| Unsalted butter, softened | 1 cup (226g), room temperature for creaming |
| Granulated sugar | ½ cup (100g), for sweetness and structure |
| Large egg yolk | 1, binds dough without toughening |
| Vanilla extract | 1 tsp, pure for best flavor |
| All-purpose flour | 2 cups (250g), sifted for tenderness |
| Fine salt | ¼ tsp, balances sweetness |
| Assorted jams (raspberry, apricot, strawberry) | ½ cup total, seedless preferred for smooth fill |
Butter provides the flaky, melt-in-your-mouth texture that defines thumbprint cookies, as its fat coats the flour particles during creaming. Egg yolk adds richness and helps the dough hold its indent without cracking. Flour builds the structure, absorbing moisture just enough to keep the cookie sturdy yet tender when baked.
Preparation Overview
| Metric | Time/Amount |
|---|---|
| Prep Time | 15 minutes |
| Cook Time | 12-15 minutes |
| Total Time | 45 minutes (including chill) |
| Yields | 24 thumbprint cookies |
Step-by-Step Instructions
1. Preheat your oven to 350°F (175°C) and line two baking sheets with parchment paper. The oven’s gentle heat will coax out golden edges without overbrowning.
2. Cream the softened butter and sugar together in a large bowl using a hand mixer or stand mixer on medium speed for 2-3 minutes. Listen for the buttery whisper turning into a soft, fluffy hum as it lightens to pale yellow and smells like toasted vanilla dreams. Scrape down the sides to catch every bit.
3. Beat in the egg yolk and vanilla extract until smooth and glossy, about 1 minute. The mixture should feel silky, with no yolk streaks, releasing a faint custardy aroma.
4. Stir in the flour and salt gradually on low speed or by hand with a wooden spoon. The dough will come together into soft, slightly sticky balls—don’t overmix, or it’ll toughen. It should smell wheaty and buttery, clinging lightly to the spoon.
> Chef Grace’s Tip: If the dough feels too sticky in a humid kitchen, chill it for 10 extra minutes. This prevents spreading and keeps those thumbprints sharp.
5. Chill the dough, covered, in the fridge for 20-30 minutes. It firms up, making it easier to roll without warming the butter too much.
6. Roll tablespoon-sized portions into smooth 1-inch balls and place them 2 inches apart on the prepared sheets. The dough should feel cool and pliable, like cool clay.
7. Indent each ball firmly with your thumb or the end of a wooden spoon, rotating gently for even depth—about ½-inch wide and deep. The edges might crack slightly; press them back smoothly. Admire the neat hollows ready for jam.
> Chef Grace’s Tip: For perfect indents that don’t puff closed, chill the shaped cookies on the sheet for 10 minutes before baking. Dust your thumb with flour if sticking occurs.
8. Bake for 12-15 minutes, until edges are lightly golden and centers are set but still pale. Rotate sheets halfway for even browning. The kitchen fills with that irresistible nutty butter scent. Cool on the sheet for 5 minutes—they’ll firm up as they cool.
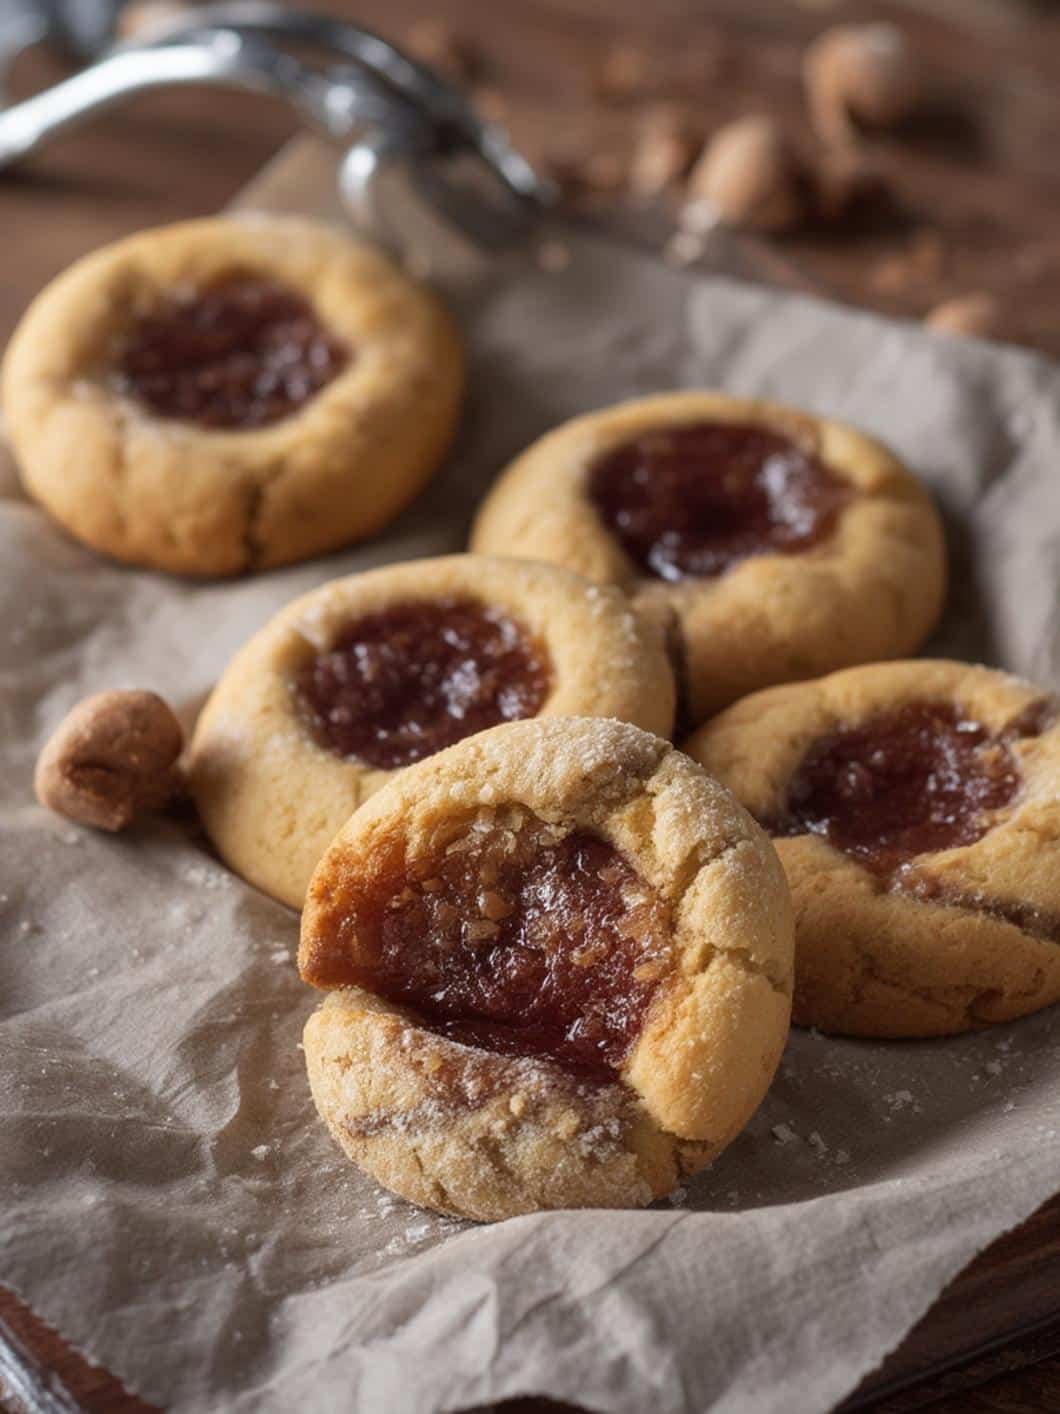
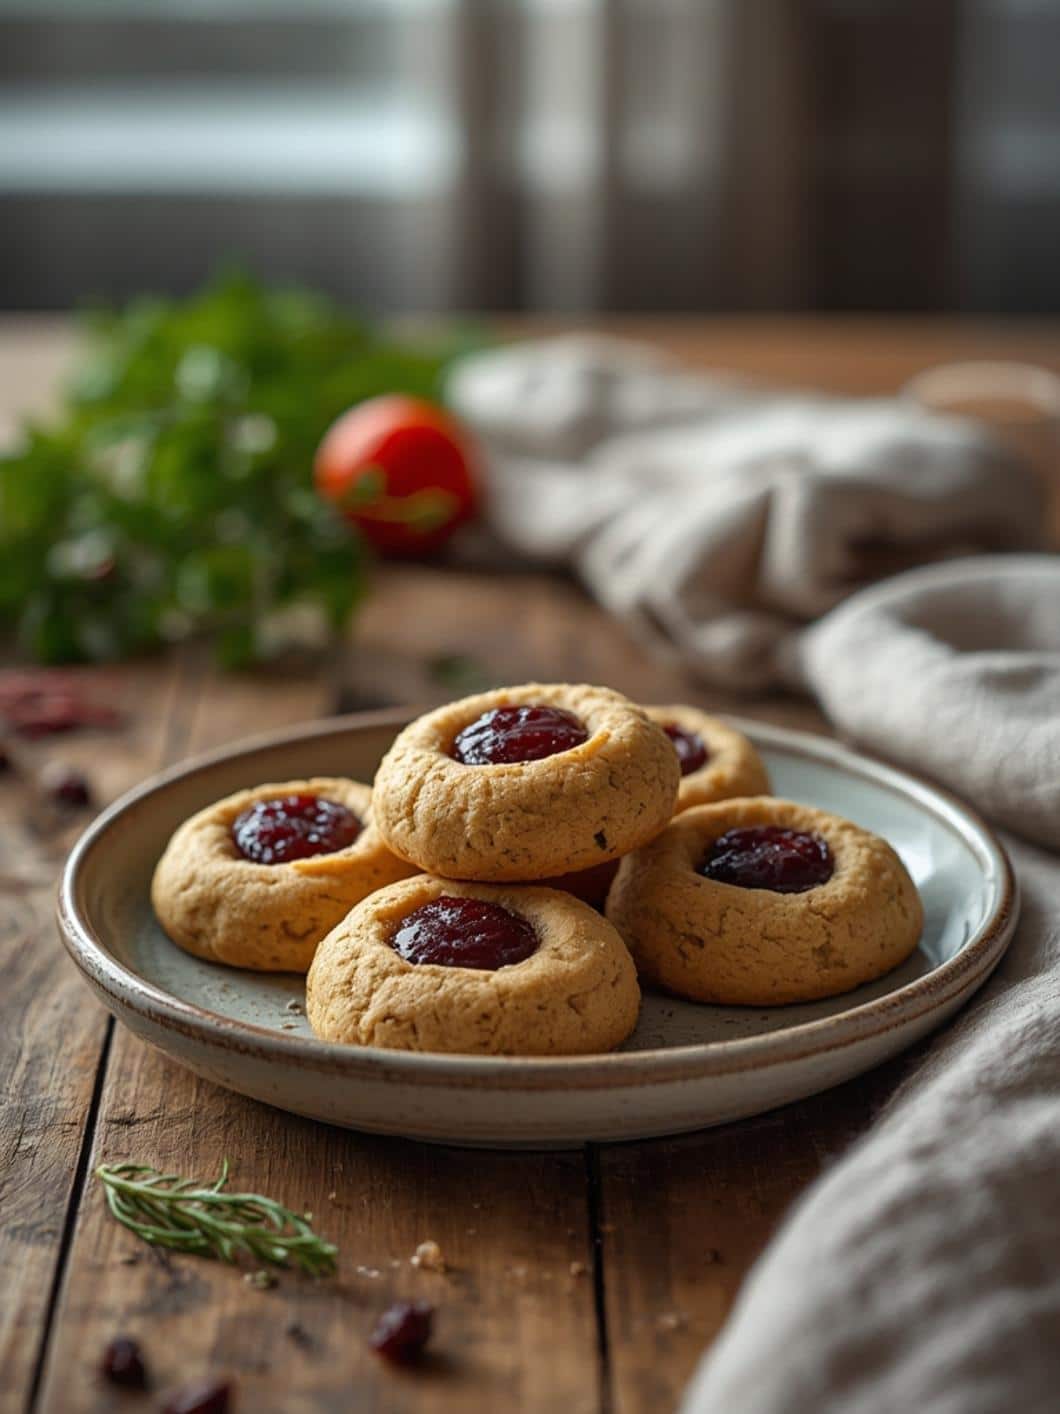
9. Fill the warm indents with ½ teaspoon jam each using a small spoon. The jam sinks in slightly, glistening ruby-red against the pale cookie, and its fruity tang wafts up as it warms. Let cool completely on a wire rack before devouring.
These thumbprint cookies hold their shape beautifully, with jam staying put through every bite.
Why This Recipe Works
The magic in these thumbprint cookies lies in the creaming method: beating butter and sugar incorporates air bubbles that expand during baking, creating that signature tender crumb without cakiness. Chilling the dough solidifies the butter, preventing excessive spread so indents stay crisp and defined— a technique echoed in recipes like this Buttery thumbprint cookies with jam recipe. Egg yolk’s lecithin emulsifies fats for even distribution, while minimal flour keeps hydration balanced for shortbread-like shortness.
Flavor-wise, the butter’s milky depth contrasts the jam’s sharp fruit acidity—raspberry’s tart zing cuts through vanilla’s warmth, apricot adds honeyed notes, strawberry brings jammy sweetness. Salt sharpens everything without overpowering. No leavener means controlled rise, focusing on butter’s steam for lift. This balance yields thumbprint cookies that taste profoundly homemade, with layers of crunch, chew, and burst.
Variations & Substitutions
For gluten-free thumbprint cookies, swap all-purpose flour with a 1:1 gluten-free blend plus ¼ teaspoon xanthan gum; the texture stays close, though slightly more crumbly. Dairy-free? Use plant-based butter like coconut oil blend (chill extra) and skip egg yolk for 1 tablespoon aquafaba—still tender and flavorful. Budget-friendly: Raspberry jam from the pantry works fine, or mix powdered sugar with fruit juice for a DIY fill. Add chopped pecans to the dough for nutty crunch without extra cost.
Common Mistakes to Avoid
Overcreaming the butter-sugar mix incorporates too much air, leading to puff-then-collapse cookies. Fix by mixing just until fluffy. Baking too long darkens edges bitterly; pull at first gold hint and cool fully. Jam added pre-bake boils over—always fill post-bake to keep thumbprint cookies neat and glossy.
Storage & Reheating
Store thumbprint cookies in an airtight container at room temp for up to 5 days; layer with parchment to prevent sticking. Fridge extends to 1 week, but let warm 30 minutes before eating to soften. Freeze unfilled baked cookies up to 3 months in a zip bag; thaw, indent, and jam fresh. Reheat in a 300°F oven for 5 minutes—revives crisp edges without soggy jam. Skip microwave; it steams the texture flat.
Conclusion
Baking these thumbprint cookies brings pure kitchen joy—grab your jam jar and get that butter creaming. Share your batch and tag @FlashKitchen on social; I’d love to see your twists. More treats await at our Thumbprint Cookies spot.
Frequently Asked Questions (FAQ)
Can I make thumbprint cookies ahead?
Yes, dough freezes up to 2 months; thaw overnight in fridge before shaping.
Why do my thumbprint cookies spread too much?
Dough was too warm—always chill after mixing and before baking.
What jam works best for thumbprint cookies?
Seedless fruit jams like raspberry or apricot; thick ones hold shape without leaking.
Are thumbprint cookies freezable with jam?
Freeze unfilled; jam addition post-thaw keeps it fresh and prevents sogginess.