Fluffy Buttermilk Biscuits (Tall & Tender)
Introduction
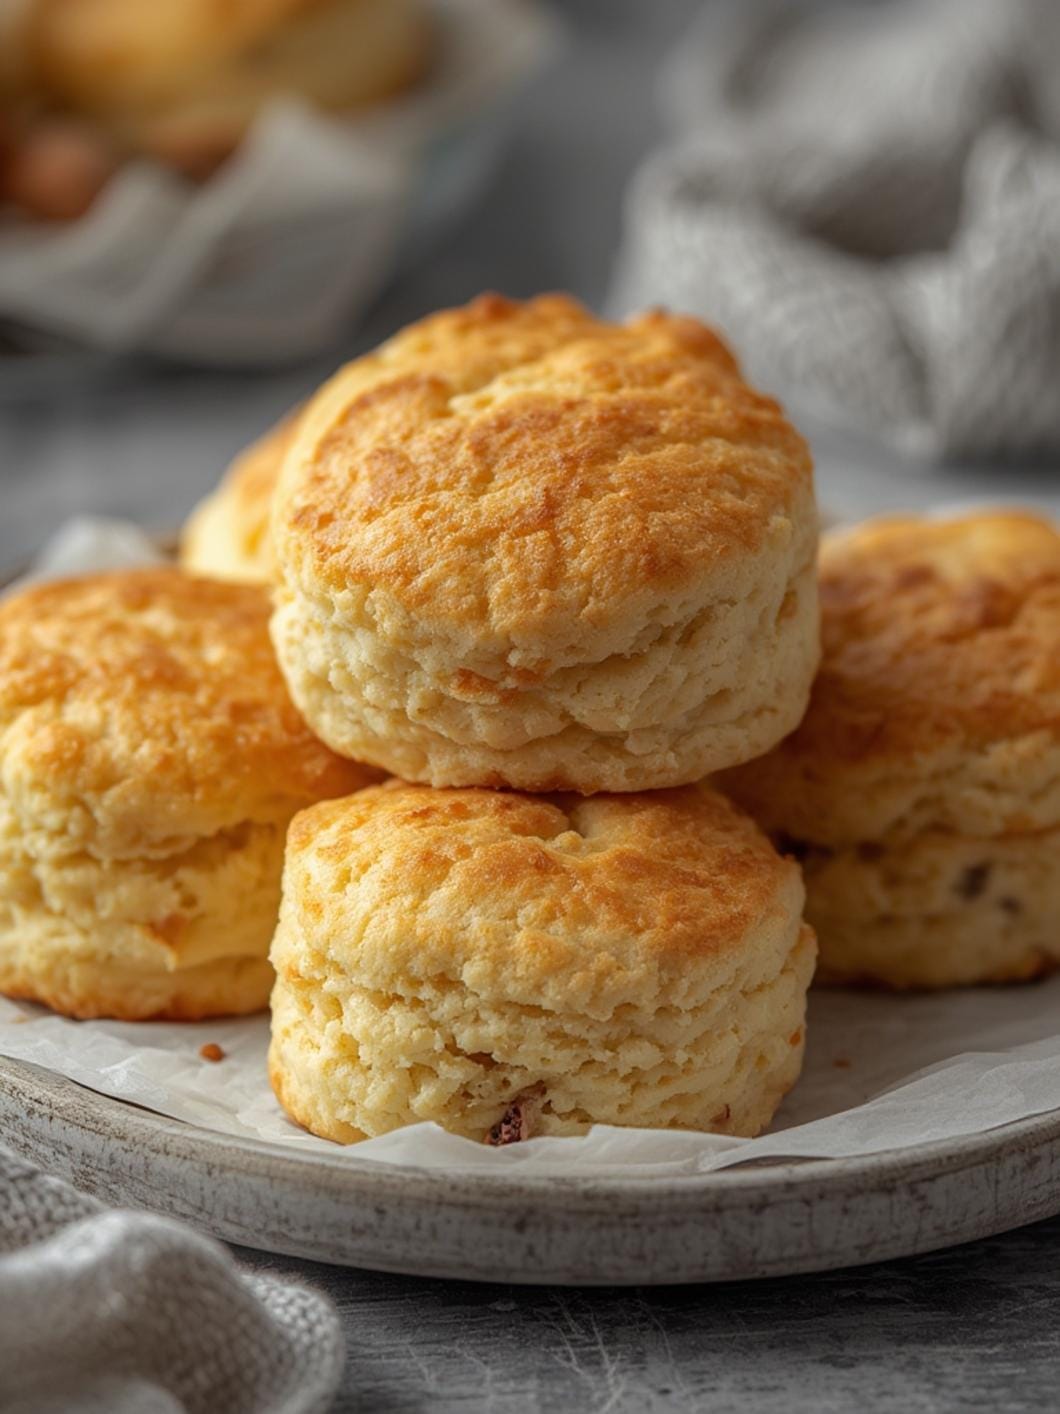
Picture this: the oven door creaks open, and a wave of warm, buttery steam hits you, carrying that faint tang of buttermilk mixed with the nutty scent of just-baked flour. Your kitchen fills with the soft crackle of cooling racks as golden buttermilk biscuits emerge, their tops crisp and flaky, pulling apart to reveal soft, steamy layers inside. These aren’t the hockey pucks from a can—nope, homemade Buttermilk Biscuits rise tall and tender, miles ahead of store-bought because you control the cold butter chunks that steam into those irresistible flakes. They’re the backbone of any Southern breakfast, slathered with honey or gravy, and once you nail them, you’ll crave that fresh-baked ritual every weekend.
Table of Contents
Ingredients & The ‘Why’
| Ingredient | Quantity & Notes |
|---|---|
| All-purpose flour | 2 cups (250g), sifted for lightness |
| Baking powder | 1 tablespoon, fresh for maximum lift |
| Baking soda | ¼ teaspoon, reacts with buttermilk acidity |
| Salt | 1 teaspoon, fine sea salt enhances flavor |
| Unsalted butter | 6 tablespoons (85g), very cold and cubed |
| Buttermilk | 1 cup (240ml), cold; substitute with milk + 1 tbsp vinegar if needed |
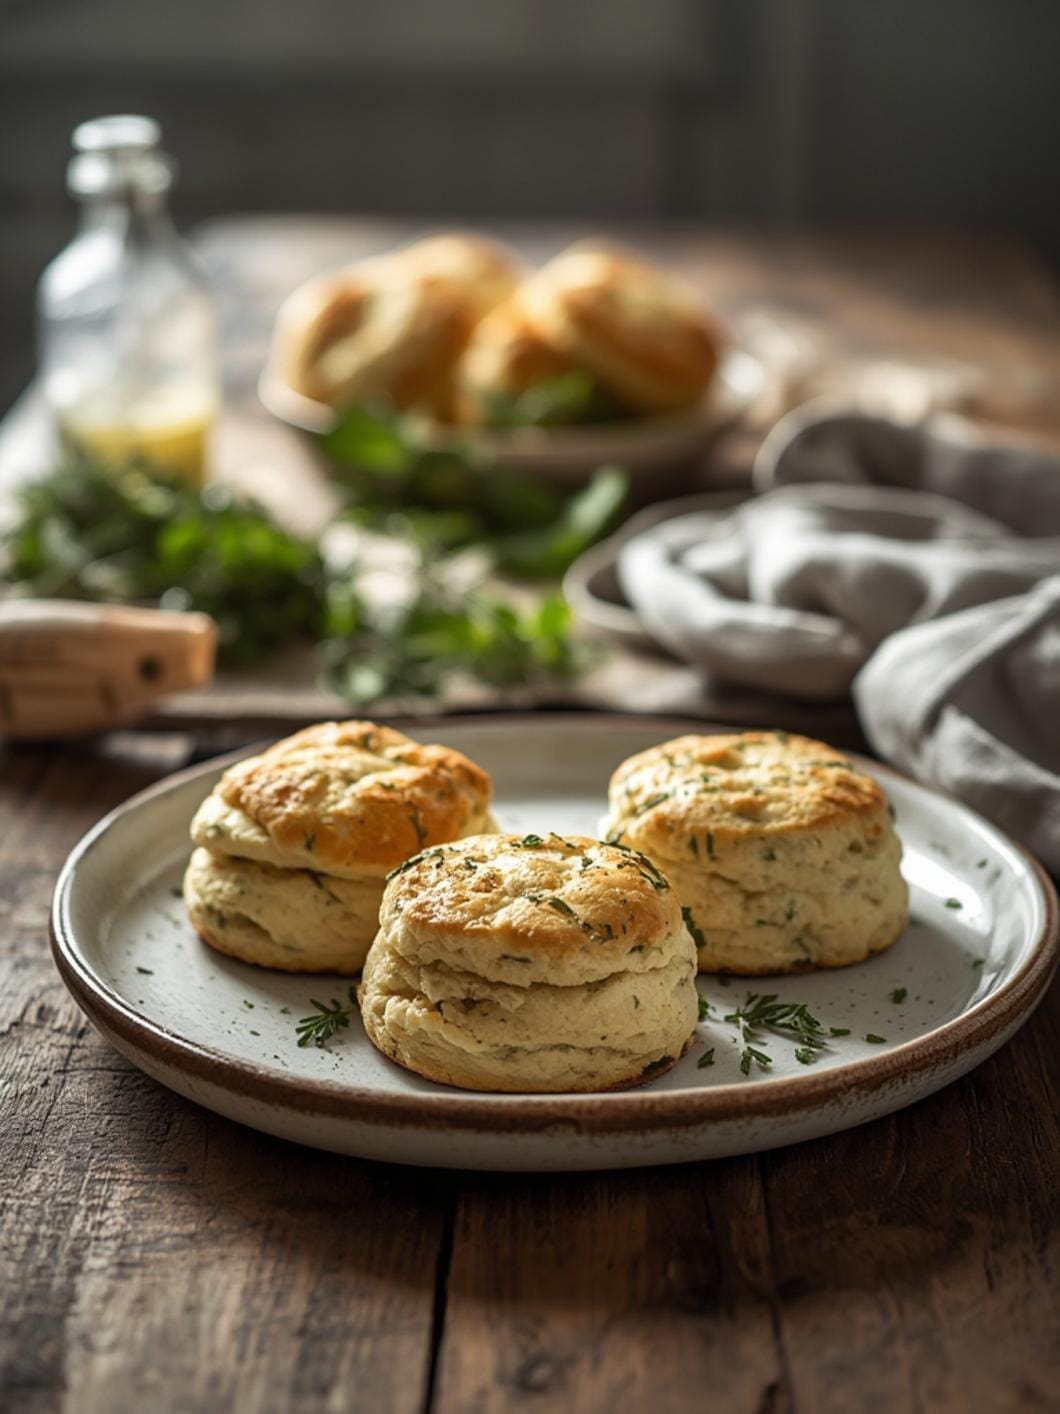
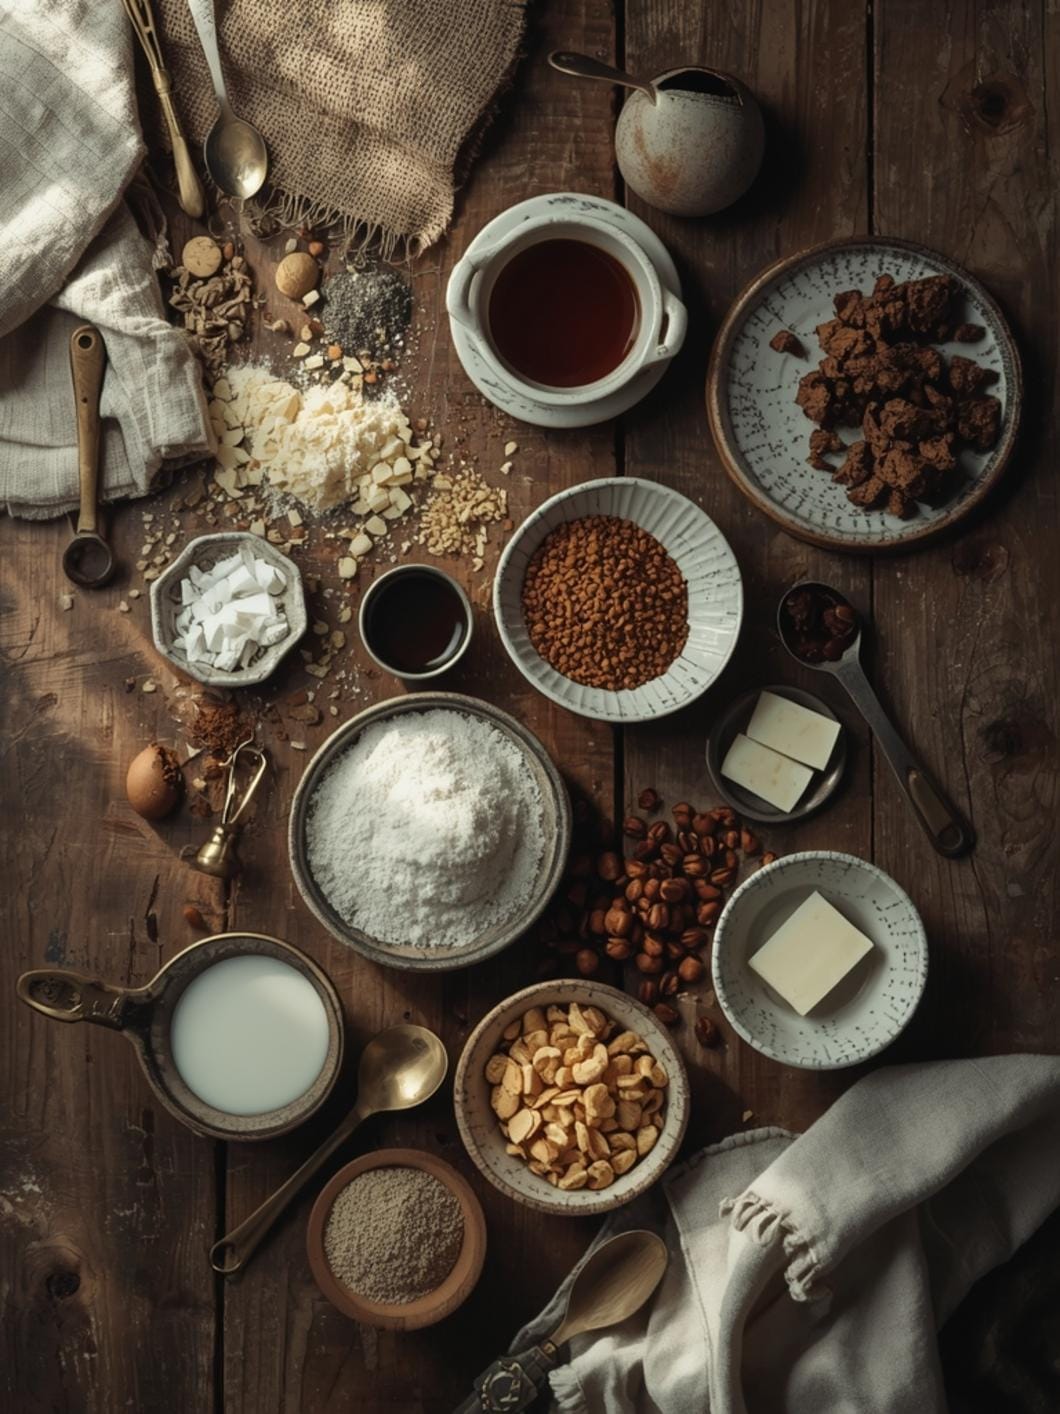
Three ingredients make these buttermilk biscuits foolproof. Cold butter creates steam pockets for flakiness—cut it into the flour until pea-sized bits remain, so it doesn’t melt too soon. Buttermilk’s acidity tenderizes the gluten and teams up with baking soda for a quick rise, giving that signature tangy depth without toughness. Baking powder provides reliable lift, ensuring even the tallest biscuits without yeast’s wait time.
Preparation Overview
| Metric | Time/Amount |
|---|---|
| Total Time | 30 minutes |
| Yields (Servings) | 8-10 biscuits |
Step-by-Step Instructions
1. Preheat your oven to 450°F (230°C) and line a baking sheet with parchment paper. The high heat jump-starts the rise, creating biscuits with crisp bottoms and soft tops—listen for the faint whoosh as the oven hits temperature.
2. Whisk the dry ingredients in a large bowl: flour, baking powder, baking soda, and salt. Sift them together so no lumps hide, giving a snowy texture that feels light under your fingers.
3. Cut in the cold butter using a pastry cutter or your fingertips. Work quickly—the butter should stay in pea-sized chunks amid the flour, looking like coarse meal with visible yellow flecks. If it warms and smears, pop the bowl in the freezer for 5 minutes. The cold fat melts in the oven, steaming into flaky layers you’ll hear crackle when you split a biscuit.
> Chef Grace’s Tip: Grate frozen butter on a box grater for even smaller pieces that distribute perfectly—it’s a game-saver for beginners.
4. Pour in the cold buttermilk and stir with a fork just until a shaggy dough forms. It should look ragged and sticky, pulling away from the bowl sides but not smooth like bread dough. Overmixing develops gluten, leading to tough biscuits, so stop when most flour is incorporated.
5. Turn out the dough onto a lightly floured surface and gently pat it into a 1-inch thick rectangle. Fold it in half like a letter, pat down again, and repeat two more times—this lamination builds layers without kneading, mimicking pro puff pastry techniques at home.
> Chef Grace’s Tip: Use a bench scraper to fold; it keeps things clean and prevents sticking. The dough feels cool and soft, smelling faintly of tangy buttermilk.
6. Pat the final dough to ¾-inch thick and cut out biscuits with a 2½-inch round cutter dipped in flour. Press straight down—don’t twist, or the edges seal and prevent rising. Gather scraps gently once, then cut again; you’ll get 8-10 total. Place them 1½ inches apart on the sheet for sides to touch and rise upward.
7. Brush tops lightly with extra buttermilk for golden shine, then bake for 12-15 minutes. Rotate the sheet halfway through. They’re done when tops are golden-brown, bottoms sound hollow when tapped, and they smell richly buttery with a buttermilk zing. Cool on a rack for 5 minutes—the steam escapes with a soft hiss, setting the crumb.
Why This Recipe Works
The magic in these buttermilk biscuits lies in the cold-chain method and acid-base reaction. Butter at near-freezing temperature stays solid until the oven’s blast of dry heat hits—around 350°F internally, it melts rapidly, releasing steam that puffs layers sky-high. Folding the dough three times stacks those fat pockets without overworking gluten strands, which stay short for tenderness. Baking soda fizzes with buttermilk’s lactic acid (pH around 4.5), producing carbon dioxide bubbles right away, while baking powder adds a slower release for even lift—no flat disasters here.
Flavor-wise, the balance is spot-on: buttermilk’s subtle sourness cuts the butter’s richness, salt amplifies both, and high heat browns the sugars via Maillard reaction for nutty depth. It’s why pros swear by it—check out this Flaky buttermilk biscuits recipe from scratch for more Southern proof. Every bite flakes audibly, with a moist interior that steams warmly, proving technique trumps fancy tools every time.
Variations & Substitutions
Make these buttermilk biscuits adaptable. For gluten-free, swap all-purpose flour with a 1:1 GF blend like King Arthur’s—add ½ teaspoon xanthan gum if not included; they rise nearly as tall with a slightly chewier crumb. Dairy-free? Use plant-based butter (chill it extra) and almond milk soured with 1 tablespoon lemon juice or vinegar— the tang mimics buttermilk perfectly. Budget-friendly: Shortening instead of half the butter saves pennies without losing flake, or add ½ cup grated sharp cheddar for cheesy twists that melt into gooey pockets.
Common Mistakes to Avoid
Overmixing the dough is the biggest pitfall— it wakes up gluten, turning biscuits dense like cardboard. Fix by stirring minimally and folding gently; if tough, slice thin next time. Another: warm butter melts into flour, flattening the rise. Chill everything beforehand, and if dough warms, refrigerate 10 minutes. Low oven temp leads to pale, squat biscuits—always preheat fully and use the top rack for even browning.
Storage & Reheating
Store leftover buttermilk biscuits in an airtight container at room temp for up to 2 days—their texture holds with a tea towel liner to absorb moisture. Fridge up to 5 days in a zip bag, but they’ll dry out. Freeze unbaked cutouts on a sheet, then bag for 3 months; bake straight from freezer, adding 2-3 minutes.
Reheat to revive that fresh flake: oven at 350°F for 5-7 minutes on a parchment-lined sheet—mist with water first for steam. Microwave toughens them (rubbery in 20 seconds), so skip it unless desperate.
Conclusion
There you have it—flaky, towering buttermilk biscuits ready to anchor your next brunch. Bake a batch this weekend and tag @FlashKitchen on social media; I can’t wait to see your golden stacks. Dive back into more like our Buttermilk Biscuits favorites.
Frequently Asked Questions (FAQ)
Can I make buttermilk biscuits without buttermilk?
Yes—mix 1 cup milk with 1 tablespoon vinegar or lemon juice, let sit 5 minutes to curdle. It works identically.
Why don’t my biscuits rise high?
Check baking powder freshness (test with hot water fizz) and ensure butter stays cold. High oven heat is key too.
How do I get extra flaky layers?
The folding step is crucial—treat it like mini croissants. Cold ingredients prevent early melt.
Are these buttermilk biscuits sweet or savory?
Savory base, perfect plain or with jam. Add 1 tablespoon sugar for a breakfast roll vibe.