Perfect 5-Minute Apple Pie (Secret Recipe)
Introduction
That first whiff of cinnamon and browning butter wafting from the oven pulls you right back to crisp fall afternoons, doesn’t it? A homemade Apple Pie has that golden, flaky crust that shatters under your fork, giving way to tender apples slick with just the right syrupy glaze. Store-bought versions often sit heavy with gummy filling or cardboard crust, but this one delivers that fresh-baked snap and the kind of warmth that lingers on your tongue. Let’s get you making Apple Pie that feels like your own kitchen tradition.
Table of Contents
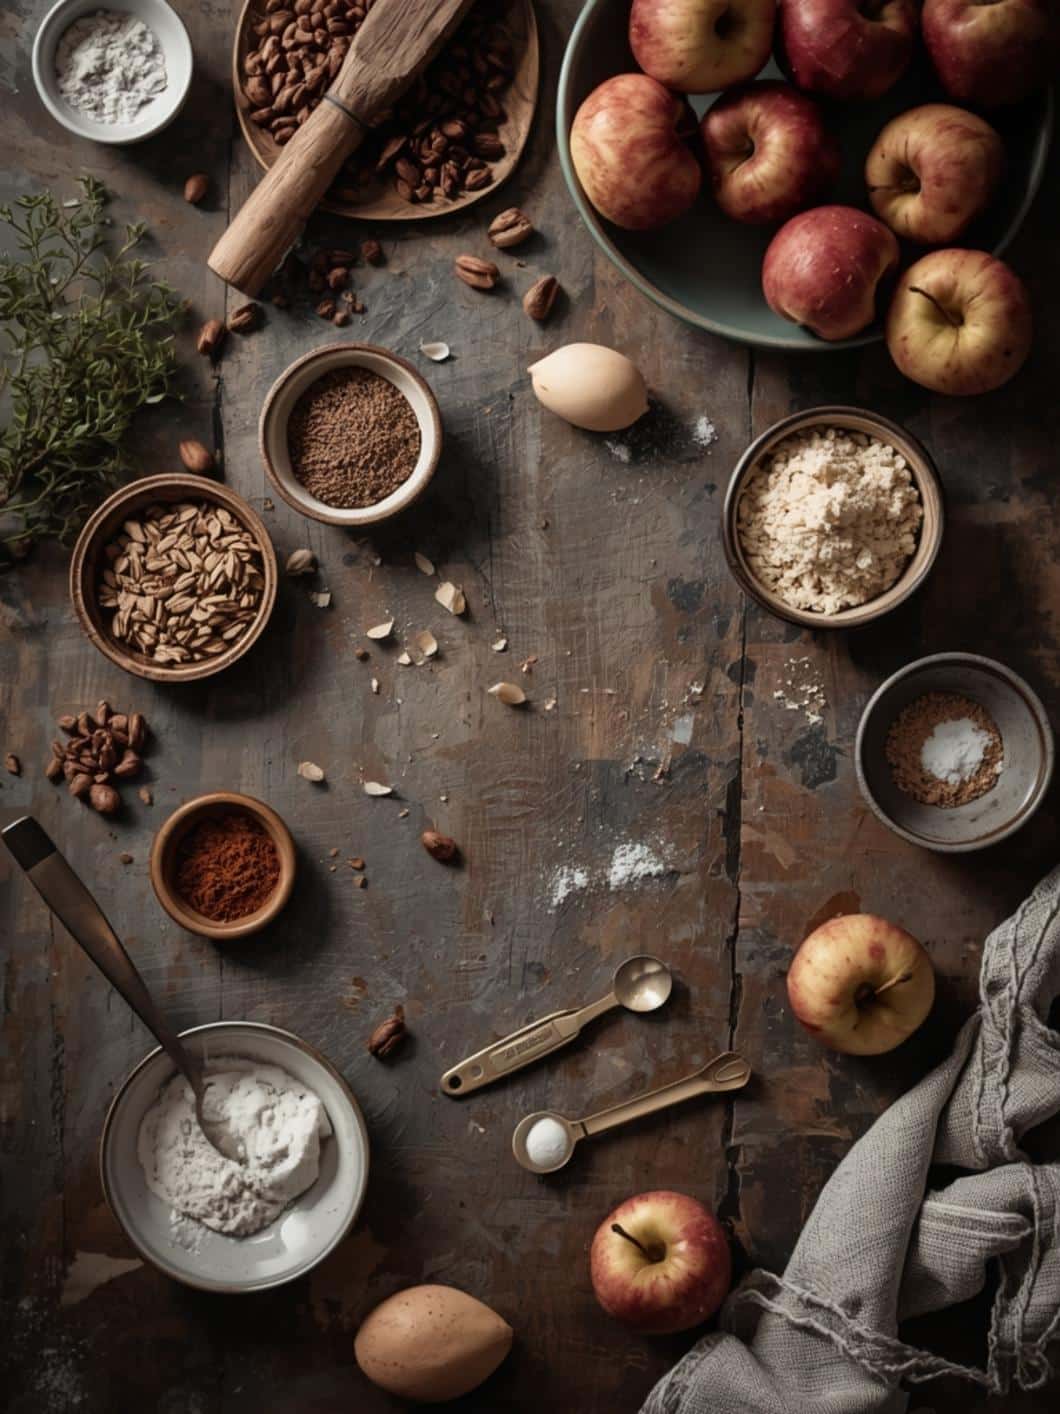
Ingredients & The ‘Why’
| Ingredient | Quantity & Notes |
|---|---|
| For the Pie Crust (Double Crust) | |
| All-purpose flour | 2 ½ cups (plus extra for dusting) |
| Unsalted butter, cold and cubed | 1 cup (2 sticks) |
| Salt | 1 tsp |
| Ice water | 6-8 tbsp (as needed) |
| For the Apple Filling | |
| Granny Smith apples (or mix with Honeycrisp) | 6-7 medium (about 3 lbs), peeled, cored, sliced ¼-inch thick |
| Granulated sugar | ¾ cup |
| Brown sugar, packed | ¼ cup |
| Cinnamon | 2 tsp ground |
| Nutmeg | ½ tsp freshly grated |
| Lemon juice | 2 tbsp fresh |
| Cornstarch | 3 tbsp |
| Unsalted butter | 2 tbsp, diced for dotting |
| Egg (for wash) | 1, beaten with 1 tbsp water |
| Demerara sugar (optional) | 1 tbsp for sprinkling |
Three ingredients make this Apple Pie shine: the cold butter in the crust cuts into the flour to create those steam pockets for maximum flakiness—feel the dough’s gentle resistance as you roll it out. Apples like Granny Smith hold their shape during baking, releasing juices that mingle with the sugars for a glossy, not soupy, filling. Cornstarch steps in to thicken those juices without a starchy aftertaste, binding everything into tender bites.
Preparation Overview
| Metric | Time/Amount |
|---|---|
| Prep Time | 45 minutes |
| Cook Time | 55-65 minutes |
| Total Time | 2 hours 30 minutes (includes chilling and cooling) |
| Yields | 8 servings |
Step-by-Step Instructions
1. Combine the flour and salt in a large bowl. Scatter the cold butter cubes over the top. Using a pastry blender or your fingertips, cut the butter into the flour until it looks like coarse peas with some larger pea-sized bits— the mixture should feel cool and crumbly, with visible flecks of butter promising that shatter-crisp crust.
2. Sprinkle 6 tablespoons of ice water over the mixture. Gently toss with a fork until it starts clumping, adding more water one tablespoon at a time if needed. The dough should hold together when squeezed but not be sticky. Press it into two discs, wrap in plastic, and chill for at least 1 hour—the butter needs that cold rest to stay separate during rolling.
> Chef Grace’s Tip: If your kitchen’s warm, chill the bowl and flour first. Overworked dough turns tough, so handle it like it’s fragile pie memory.
3. Toss the sliced apples in a big bowl with lemon juice right away—the sharp citrus smell wakes up the fruit, preventing browning and adding a bright tang. Mix in granulated sugar, brown sugar, cinnamon, nutmeg, and cornstarch. Let it sit 15 minutes; you’ll see juices pooling at the bottom, turning syrupy and aromatic, like spiced cider concentrating.
4. Roll out the bottom crust on a floured surface to a 12-inch circle, about ⅛-inch thick. The dough will fight back at first from the chill, then relax with smooth, even pressure—listen for the faint whisper as it stretches. Drape it into a 9-inch pie plate, letting edges hang over. Trim excess to ½-inch overhang.
5. Fill the crust with the apple mixture, piling it high in the center—the mound should dome slightly for that classic Apple Pie shape. Dot with diced butter; it melts into glossy pockets during baking.
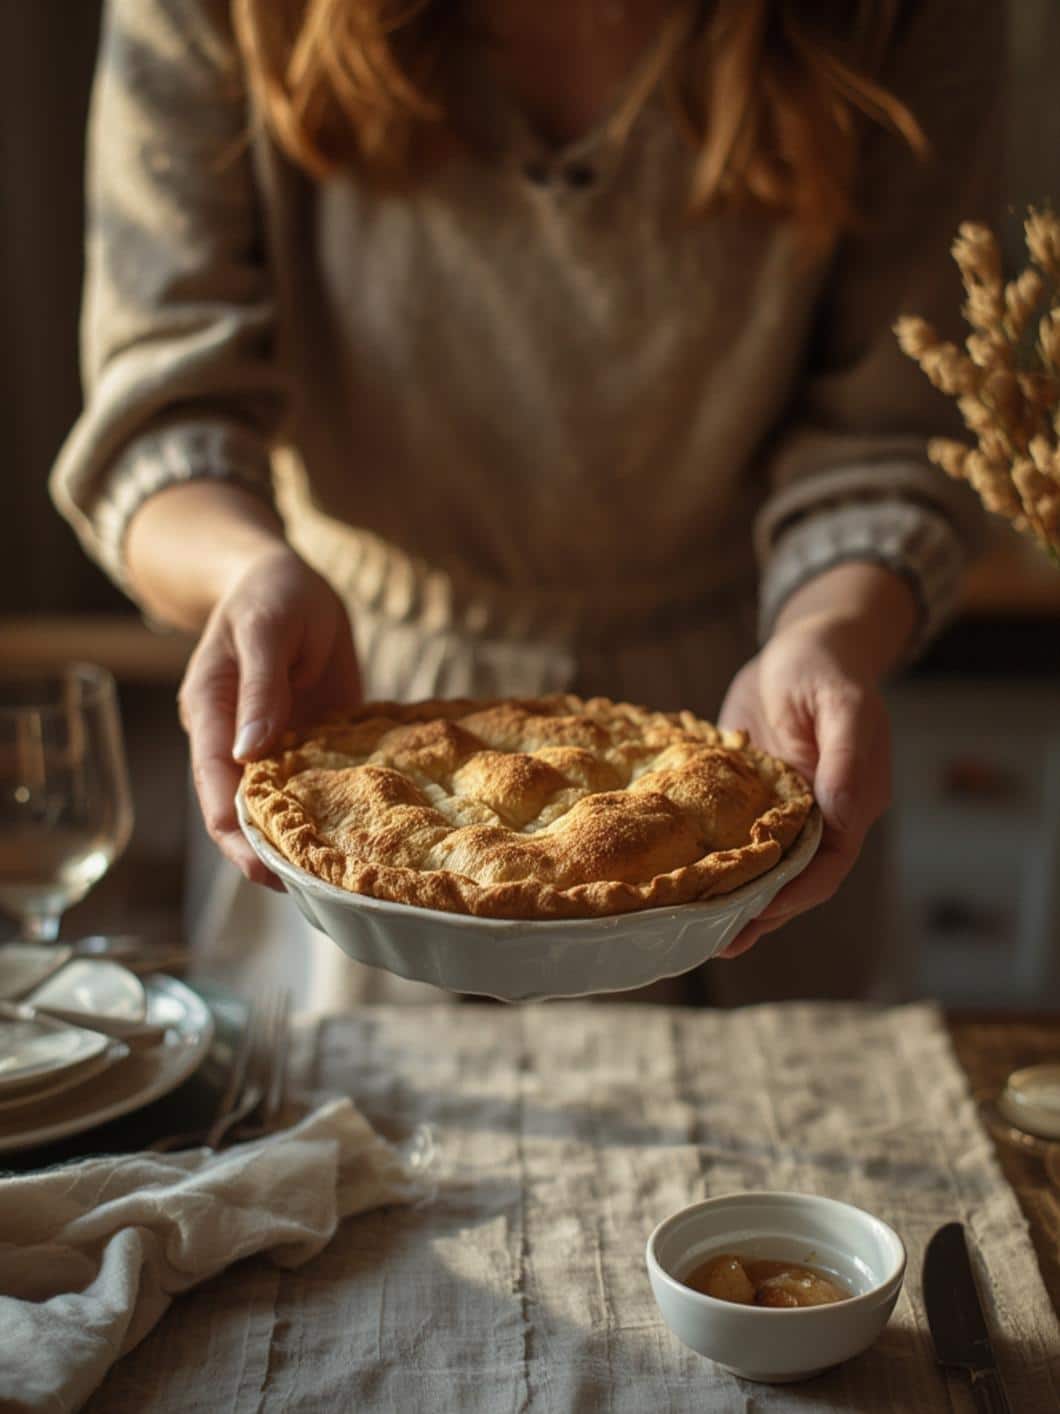
6. Roll out the top crust similarly. Lay it over the filling. Fold the edges under and crimp with your fingers or a fork—the seal should feel snug, trapping those juices inside. Cut 4-5 vents in the top; steam hisses out as it bakes, carrying cinnamon perfume.
> Chef Grace’s Tip: Brush with egg wash now for shine, and sprinkle demerara sugar—it crackles under heat for a caramel crunch without burning.
7. Chill the assembled pie 30 minutes while preheating oven to 425°F (220°C). This firms the crust to prevent shrinking. Bake on the lowest rack for 20 minutes—the edges will sizzle and turn pale gold, filling your kitchen with toasty butter and bubbling apple sweetness.
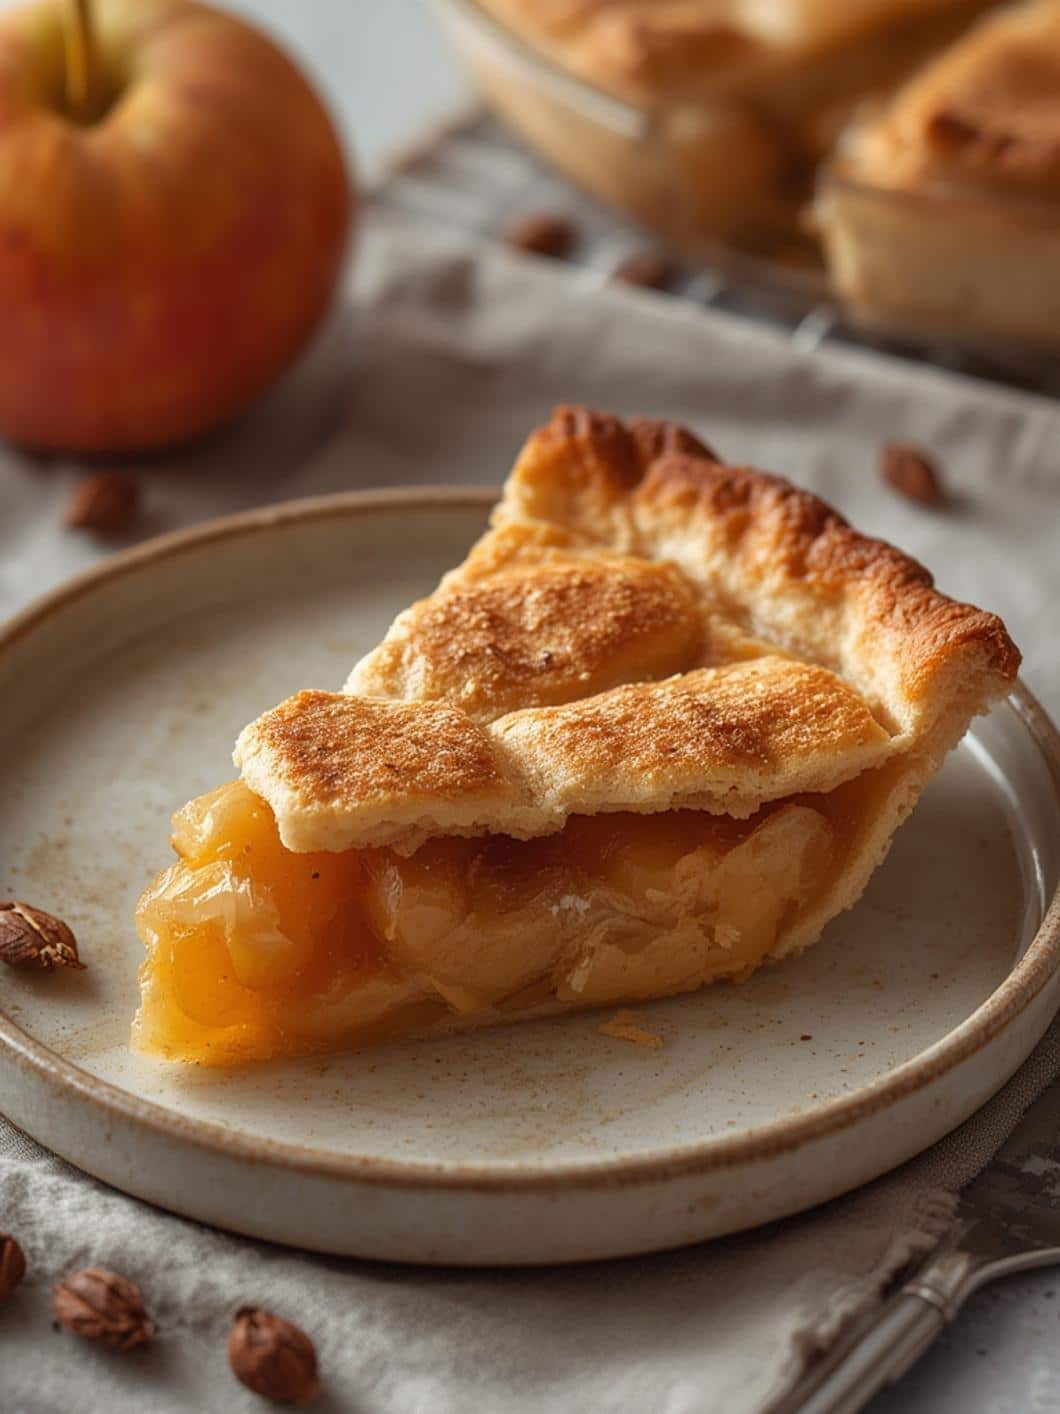
8. Reduce heat to 375°F (190°C), tent loosely with foil, and bake another 35-45 minutes. Peek for deep golden crust and thickened filling bubbling thickly through vents—juice should look jam-like, not watery. Cool on a rack at least 2 hours; the structure sets, turning slices clean and firm.
Why This Recipe Works
This Apple Pie nails balance through technique: cold butter in the crust creates layers that puff with steam, staying crisp against the filling’s moisture. The cornstarch slurry from rested apples thickens precisely—no boil-over sogginess—while lemon juice keeps tartness cutting through sugars and warm spices for that sweet-spicy harmony. It’s like the Flaky homemade apple pie recipe from scratch that pros swear by, but dialed for home ovens. Apples soften evenly without mush, crust browns evenly thanks to high initial heat, and the flavor layers build: upfront cinnamon snap, mid-palate apple perfume, backend buttery depth.
Variations & Substitutions
For gluten-free Apple Pie, swap all-purpose flour with a 1:1 GF blend like King Arthur’s—add ½ tsp xanthan gum if not included for structure. Dairy-free? Use vegan butter or coconut oil in the crust and skip the dotting butter; the pie holds flaky texture. Budget-friendly: Honeycrisp or whatever firm apples are on sale work, just bump lemon to balance sweetness, and skip demerara for plain sugar sparkle.
Common Mistakes to Avoid
Don’t overmix the dough—it warms the butter, leading to tough crust; fix by chilling longer next time. Skipping the cornstarch or apple rest means runny filling; if it happens, bake extra 10 minutes uncovered. Soggy bottoms come from skipping the low rack—move future pies down and preheat a baking sheet for instant sear.
Storage & Reheating
Store Apple Pie covered in the fridge up to 5 days—the fridge firms the filling without sogginess. For freezing, wrap unbaked pie tightly up to 3 months; thaw overnight and bake as directed, adding 10 minutes. Baked freezes well sliced, up to 2 months. Reheat slices in a 350°F oven 15-20 minutes on a sheet—crust crisps back up with that fresh-baked sizzle. Skip microwave; it steams the flakes soft.
Conclusion
There you have it—a slice of Apple Pie that warms from the first bite. Pull one from your oven soon and tag @FlashKitchen on social; I’d love seeing your flaky edges. Dive into more like this Apple Pie favorite over on the blog.
Frequently Asked Questions (FAQ)
Can I make Apple Pie ahead?
Yes, assemble and freeze unbaked up to 3 months, or bake and fridge 5 days.
Why use Granny Smith apples?
They stay firm and tart, balancing the sugars without turning mushy.
How do I know when Apple Pie is done?
Look for bubbling, thick juices and deep golden crust—internal temp hits 195°F in the center.
Vegan Apple Pie possible?
Swap butter for vegan sticks and use aquafaba for egg wash; flavors stay spot-on.