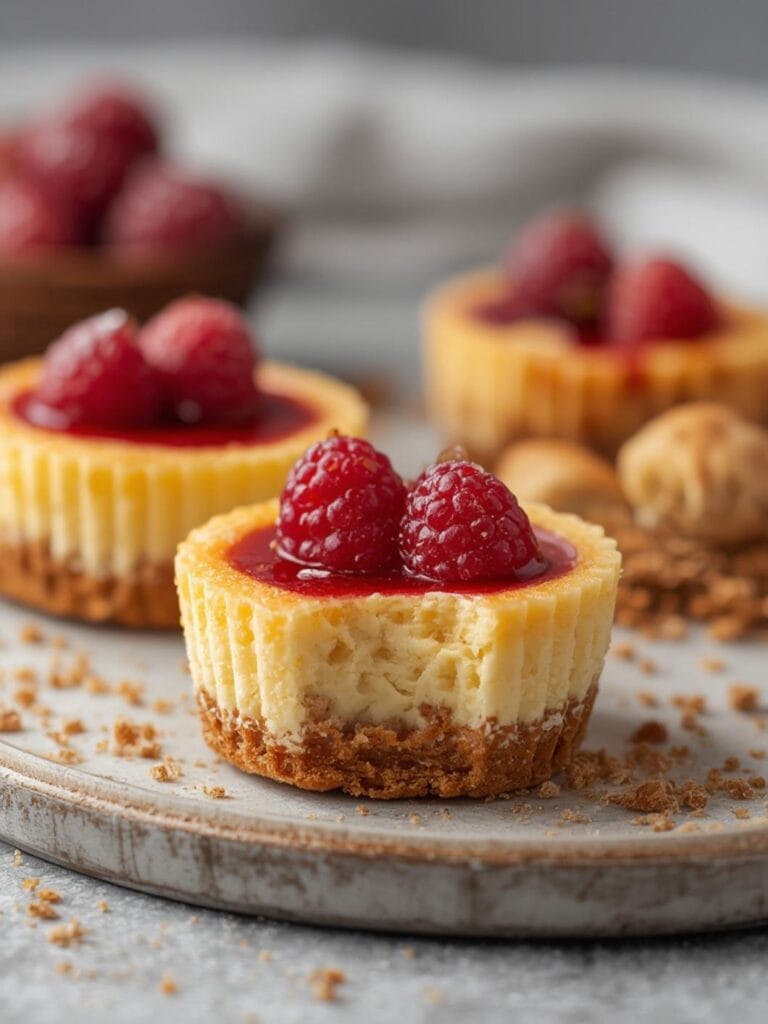
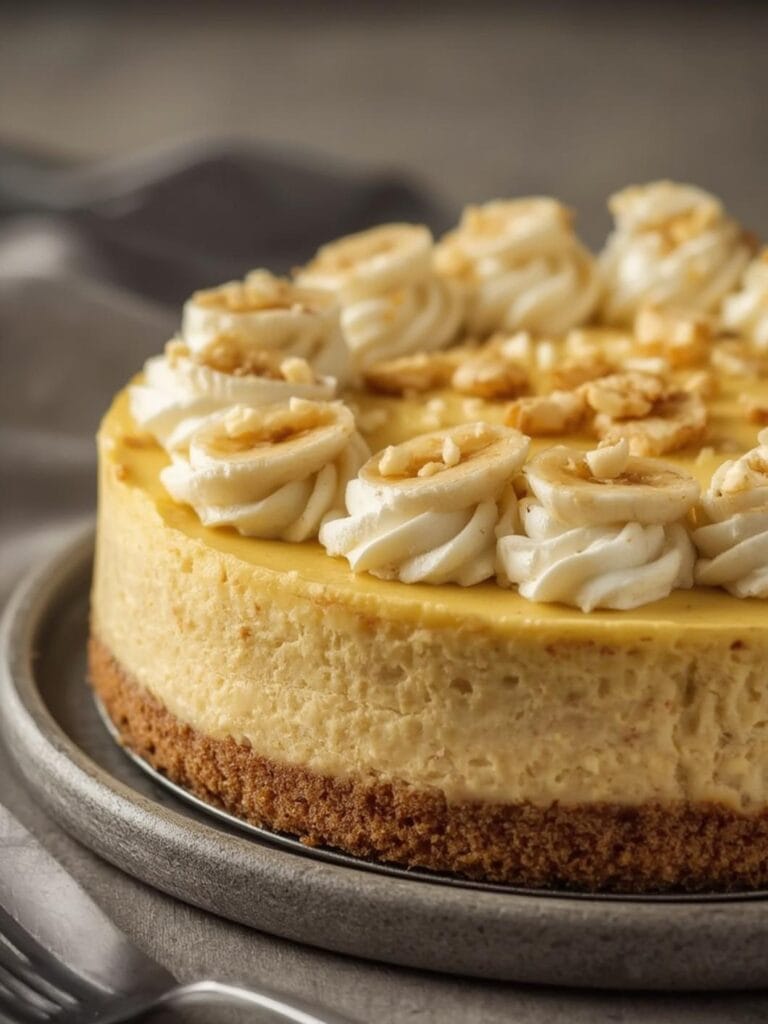
Best 5-Ingredient Classic Cheesecake (Genius Recipe)
Introduction
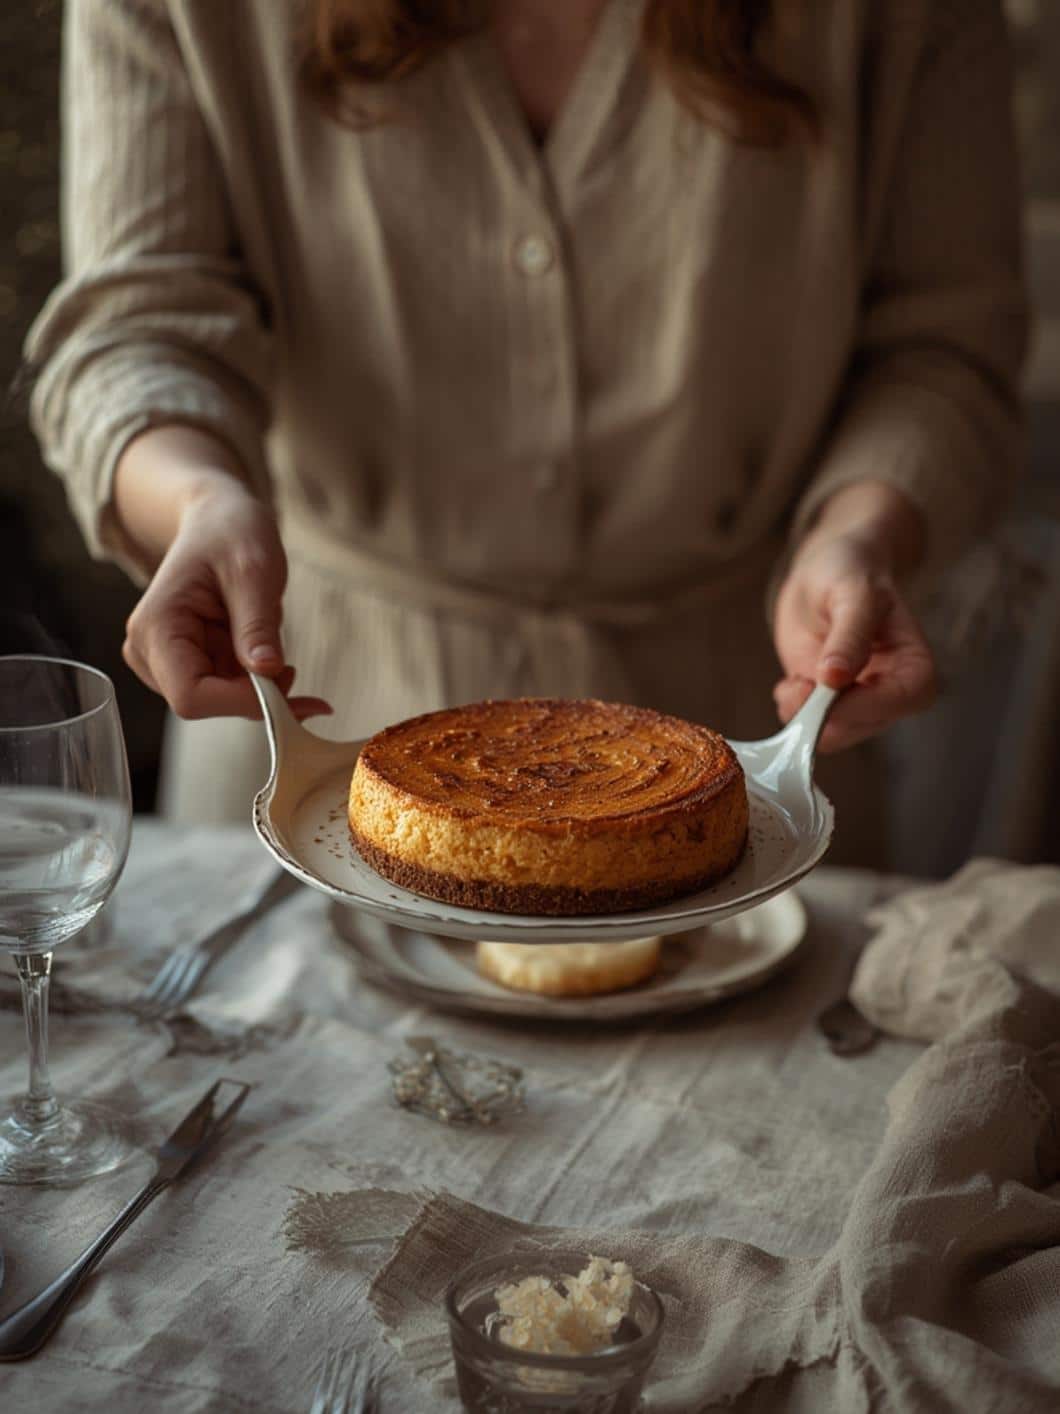
Remember the faint crackle of the oven door as you pull out that first slice of classic cheesecake, steam rising with the sweet, milky scent of baked cream cheese mingling with a buttery graham crust? That smooth, dense center that jiggles just right under the knife—homemade classic cheesecake delivers that every time, without the dense, artificial tang of store-bought versions loaded with stabilizers. It’s denser and more flavorful because you control the mix, letting real vanilla and fresh lemon shine through. Dive into our Classic Cheesecake recipe, and you’ll see why it’s a kitchen staple.
Table of Contents
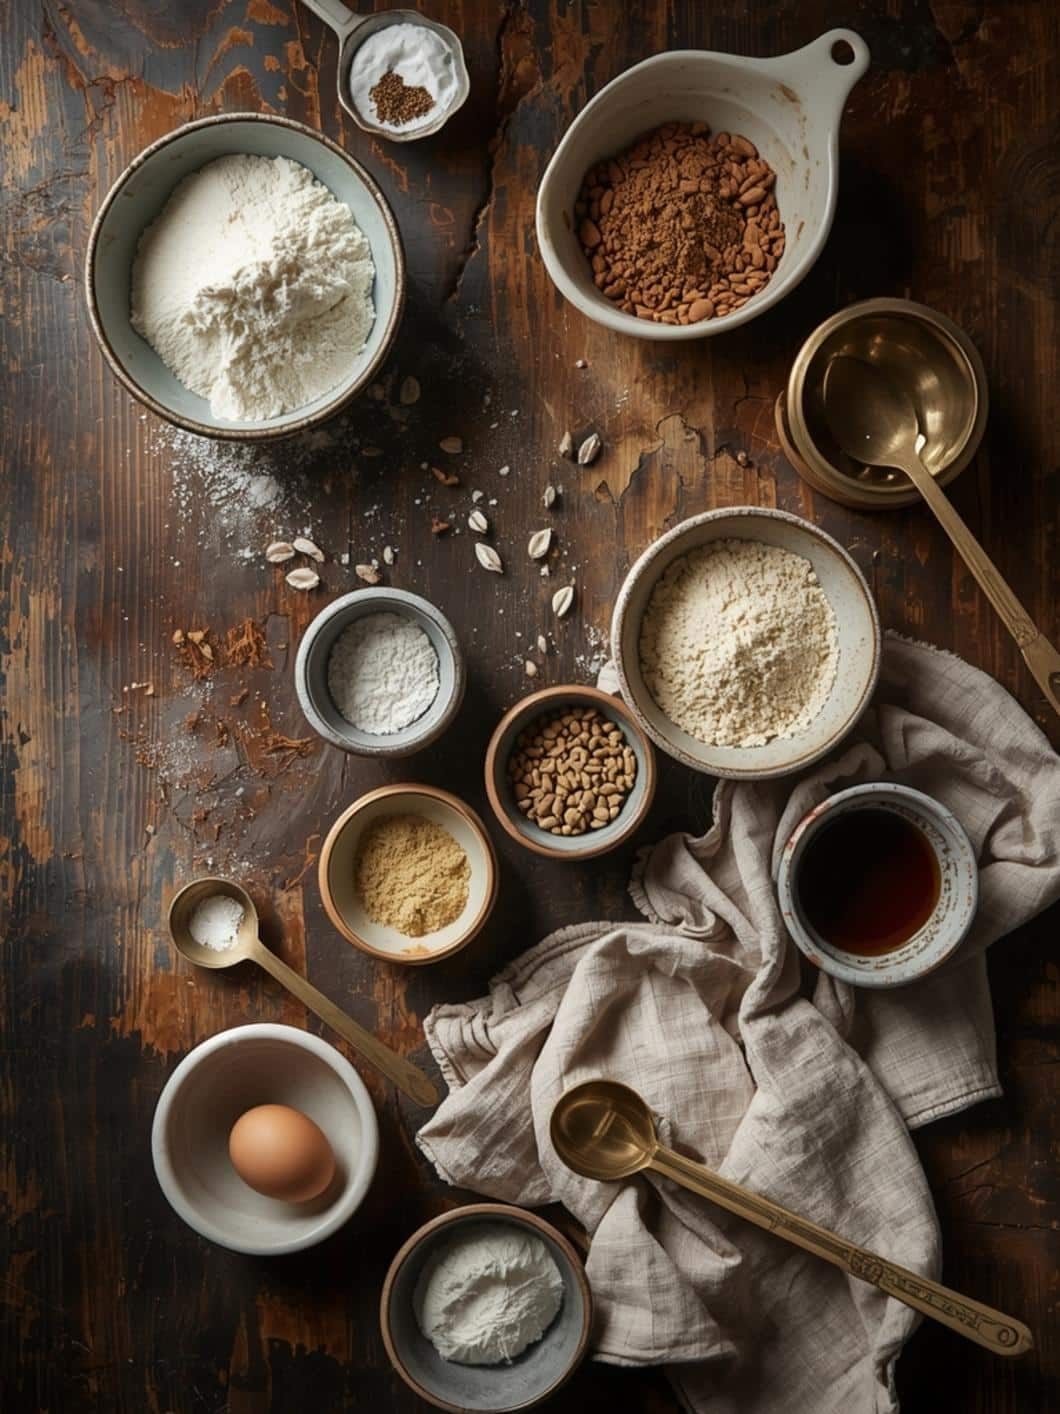
Ingredients & The ‘Why’
| Ingredient | Quantity & Notes |
|---|---|
| Graham cracker crumbs | 2 cups (about 14 full sheets, finely ground) |
| Unsalted butter, melted | 5 tablespoons (for binding the crust) |
| Granulated sugar (for crust) | ¼ cup |
| Full-fat cream cheese | 32 ounces (4 blocks, softened to room temperature) |
| Granulated sugar (for filling) | 1 ¼ cups |
| Large eggs | 4 (room temperature) |
| Sour cream | 1 cup (full-fat for creaminess) |
| Pure vanilla extract | 2 teaspoons |
| Fresh lemon juice | 2 tablespoons (plus 1 teaspoon zest for brightness) |
| Cornstarch | 2 tablespoons (helps prevent cracks) |
| Salt | ¼ teaspoon |
In this classic cheesecake, cream cheese forms the backbone, giving that signature rich, velvety texture as it melts evenly during baking. Eggs provide structure and a custardy lift without making it eggy, while sour cream adds a subtle tang that cuts through the sweetness, ensuring each bite balances creaminess with a fresh edge.
Preparation Overview
| Metric | Time/Amount |
|---|---|
| Prep Time | 25 minutes |
| Cook Time | 70 minutes |
| Total Time | 8 hours (including chilling) |
| Yields | 12-14 servings |
Step-by-Step Instructions
1. Preheat your oven to 325°F (165°C) and wrap the outside of a 9-inch springform pan in a double layer of heavy-duty foil. This shields your classic cheesecake from any water bath leaks—feel the cool metal pan warming under your hands as you prep.
2. Mix the crust: In a medium bowl, stir together the graham cracker crumbs, ¼ cup sugar, and melted butter until it resembles wet sand. The butter should glisten on the crumbs, clumping when squeezed. Press this firmly into the bottom and 1 inch up the sides of the pan using the bottom of a measuring cup for an even layer. Bake for 10 minutes until it smells toasty and golden around the edges—let it cool while you make the filling.
3. Beat the cream cheese on medium speed with a hand mixer or stand mixer paddle until completely smooth, about 2 minutes. Scrape the bowl often; it should feel silky with no lumps, releasing a faint tangy aroma.
> Chef Grace’s Tip: Room-temperature cream cheese is key for this classic cheesecake. If it’s cold, microwave blocks in 10-second bursts, stirring until just soft—never runny.
4. Add the 1 ¼ cups sugar, cornstarch, and salt, beating on medium until incorporated, about 1 minute. The mixture turns glossy and slightly fluffy.
5. Incorporate the eggs one at a time, beating on low after each just until blended—no more than 20 seconds per egg. Overbeating introduces too much air, leading to cracks. The batter will thicken to a pale yellow pudding-like consistency, smooth and pourable.
6. Stir in the sour cream, vanilla, lemon juice, and zest by hand with a spatula. Taste a tiny bit—it should be sweetly tart with citrus brightness cutting the richness. Pour into the cooled crust, smoothing the top with an offset spatula.
> Chef Grace’s Tip: For the perfect water bath, place the springform pan in a larger roasting pan. Pour boiling water into the roasting pan halfway up the sides of the springform. This gentle steam keeps your classic cheesecake creamy without cracks.
7. Bake in the water bath at 325°F for 60-70 minutes. The edges will puff and set to a matte finish, while the center jiggles like Jell-O when shaken—about 2-3 inches in the middle. Turn off the oven, crack the door, and let it cool inside for 1 hour. The top might sweat a bit, releasing that warm, custardy scent.
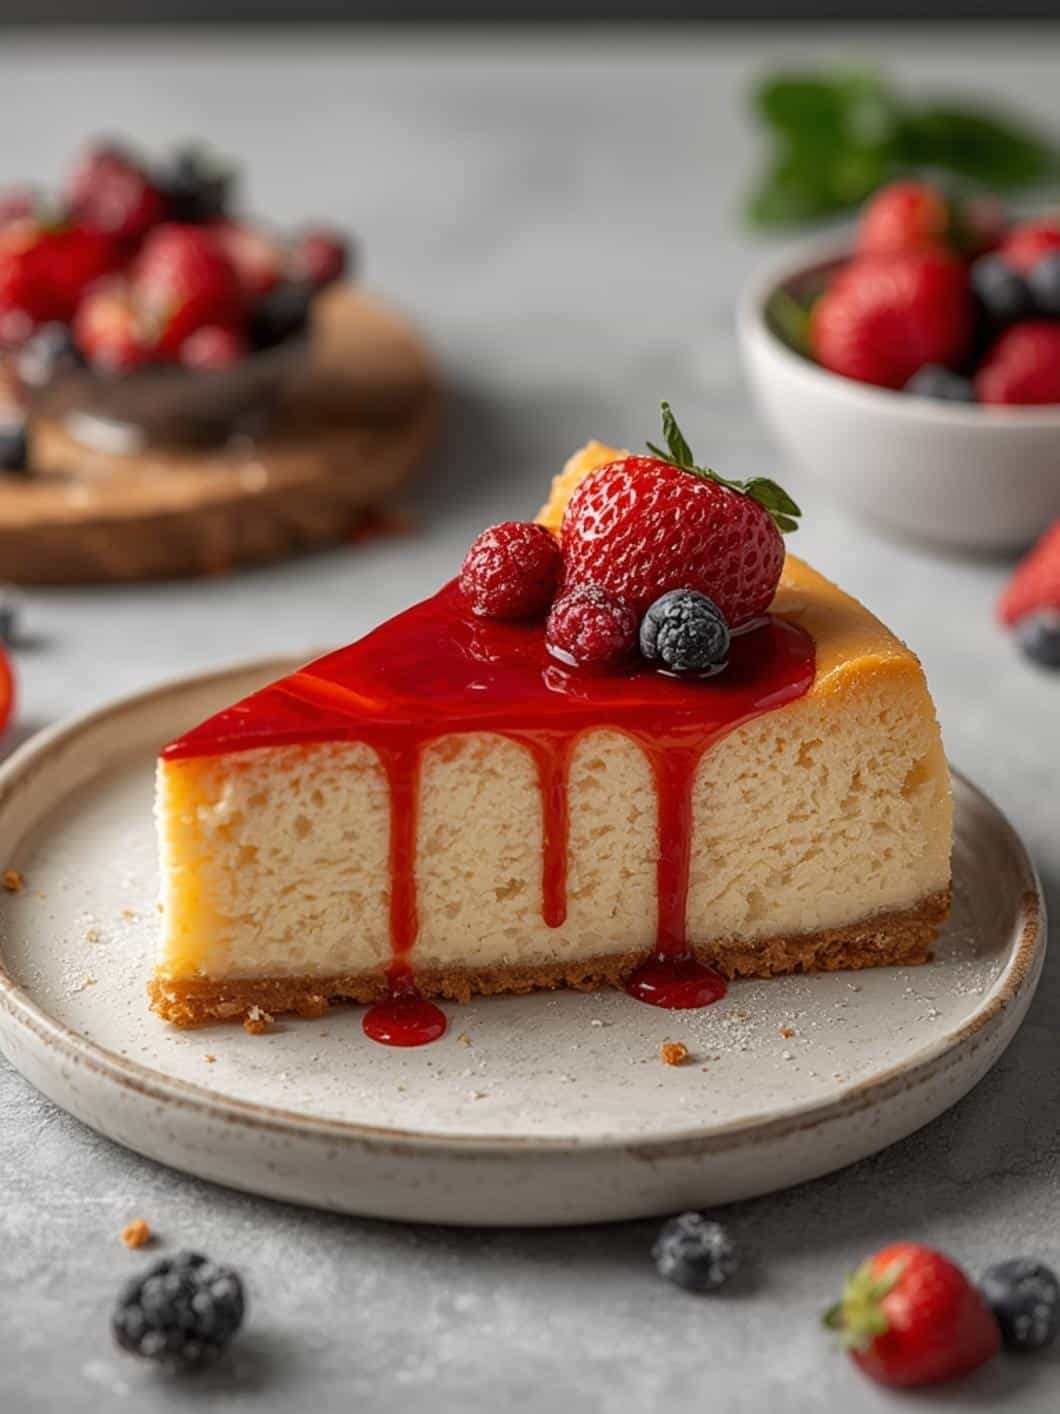
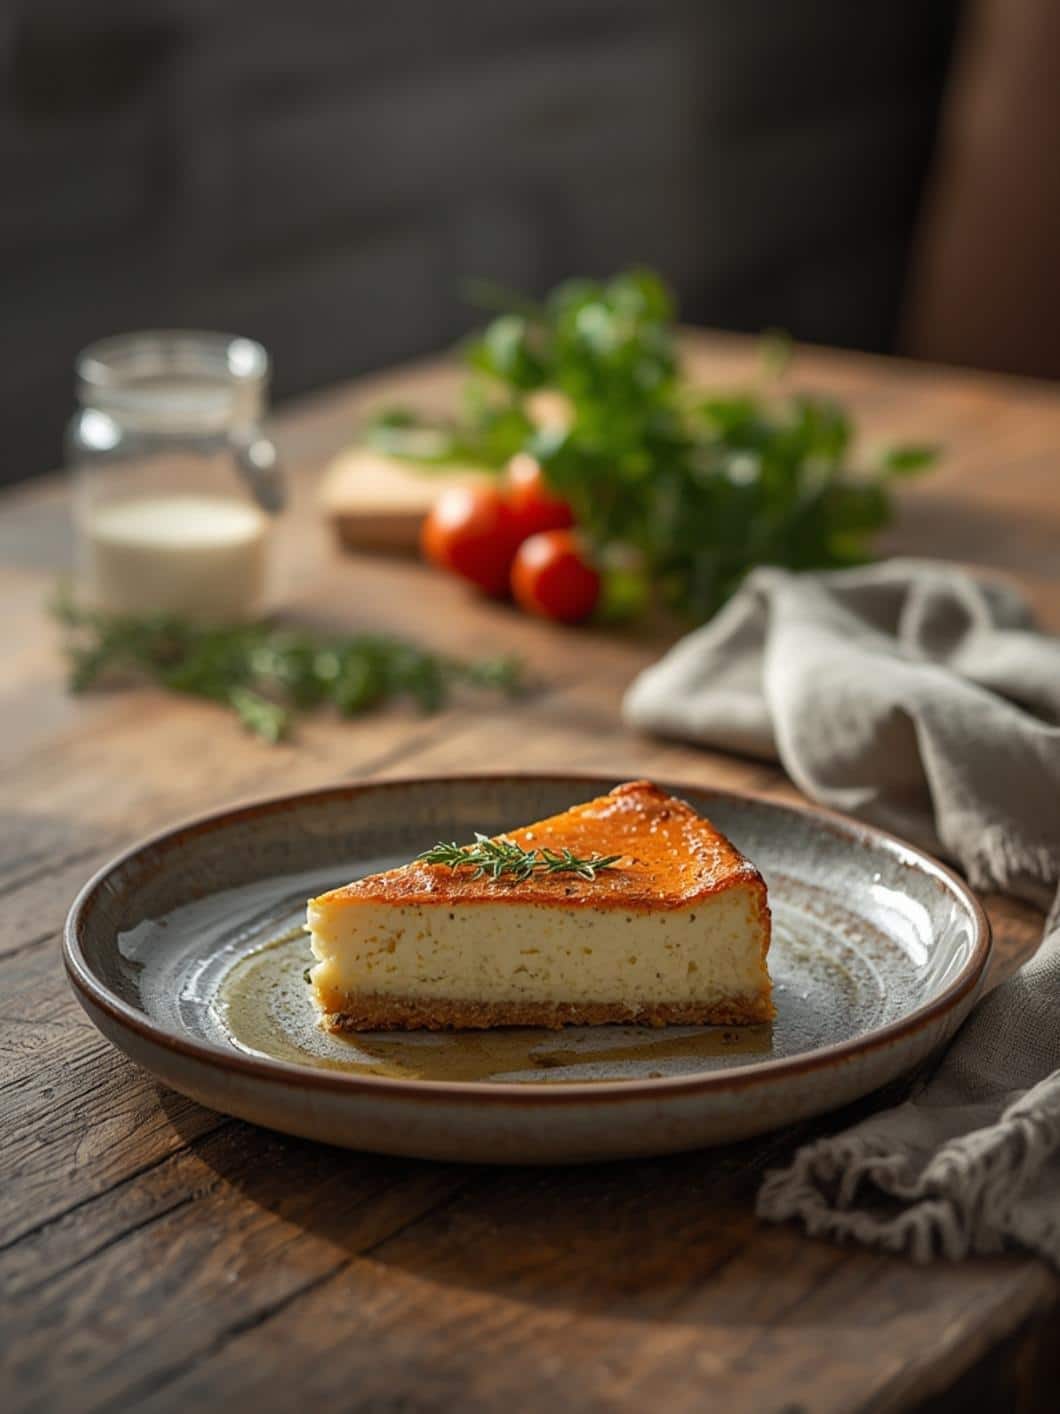
8. Chill uncovered in the fridge for at least 6 hours or overnight. Run a thin knife around the edge before releasing the springform. The classic cheesecake slices cleanly, with a firm exterior giving way to dense, creamy filling.
Why This Recipe Works
This classic cheesecake succeeds through a water bath technique that steams the edges evenly, preventing the top from drying and cracking while the inside sets to that ideal tender density—think of the gentle hiss of water meeting hot pan as it creates even heat. Cornstarch absorbs excess moisture, and the sour cream-egg combo yields a custard-like structure that holds without toughness. Flavor-wise, lemon juice tempers the cream cheese’s richness with bright acid, vanilla adds warm depth, and sugar binds it all without cloying sweetness. It’s similar to this reliable Creamy classic cheesecake recipe from scratch, but ours tweaks the zest for extra pop. The result? A flawless balance where the buttery crust crunches against cool, tangy filling that melts on your tongue.
Variations & Substitutions
For gluten-free classic cheesecake, swap graham crumbs for gluten-free versions or crushed gluten-free cookies—same ratio, and it holds just as well. Dairy-free? Use plant-based cream cheese (like Kite Hill), coconut cream instead of sour cream, and vegan butter; the texture stays velvety with a subtle coconut note. On a budget, generic cream cheese and store-brand sour cream work fine—focus on full-fat for body, and skip extras like lemon zest if needed.
Common Mistakes to Avoid
Overmixing the eggs whips in air bubbles that expand and crack the top during baking—fix by mixing low and slow, or pop cracks under whipped cream. Skipping the water bath leads to uneven cooking and a rubbery edge; if it happens, tent foil next time for steam control. Undercooking leaves a soupy center—test the jiggle, and if it’s too loose post-chill, bake 10 more minutes next round.
Storage & Reheating
Store slices wrapped tightly in plastic on a plate in the fridge up to 5 days—the classic cheesecake firms up beautifully cold, with flavors melding. For freezing, wrap whole or slices airtight up to 2 months; thaw overnight in the fridge to preserve that creamy snap. Skip the microwave—reheat gently in a 250°F oven for 10 minutes on a baking sheet if serving warm, letting residual fridge chill keep the texture intact.
Conclusion
There you have it—a foolproof classic cheesecake that brings that nostalgic, sliceable perfection right to your table. Whip it up this weekend and tag @FlashKitchen on social media; I can’t wait to see your creamy results. Head back to our Classic Cheesecake for more kitchen wins.
Frequently Asked Questions (FAQ)
Can I bake classic cheesecake without a water bath?
Yes, but expect potential cracks; use a pan of water on the lower rack for steam instead.
Why does my classic cheesecake crack on top?
Usually from quick temperature changes or overbeating—cool slowly in the oven and mix minimally.
How do I know when classic cheesecake is done?
Edges set and firm, center 2-3 inches jiggles slightly; it firms fully when chilled.
Can I make classic cheesecake ahead?
Absolutely—bake and chill up to 2 days early, or freeze for a month.